This blog is no longer hosted on this site. Check out the new and improved Domestic360 at domestic360life.com for even more DIYs, recipes, and fashion tips!
Showing posts with label stitch. Show all posts

Wednesday, December 19, 2012

Gift Card Envelope - DIY Tutorial

My mom always says that gift cards are impersonal. I disagree. I love gift cards. I love how easy it is to give them and I love getting them and spending them. Its like guilt-free shopping. When we got married we got so many gift cards and it was awesome! We were able to get so much stuff that we needed, even stuff that wasn't on our registry.

The only thing I don't like about gift cards is that they are impossible to wrap and the little envelopes they come in are ugly. There are some cute cards and little tins you can get to put your gift cards in, but who wants to pay extra for that?

So, my solution is to make my own little envelope! It only takes a little scrap of fabric and about 30 minutes to make.

What you will need:

  • One piece of fabric (quilting cotton works really well) - 13" x 3.5"
  • The usual stuff (a sewing machine, matching thread, scissors, an iron, etc...)

Fold the fabric in half length wise, right-sides together. Stitch around the three raw edges using the edge of the foot lined up with the edge of the fabric as a seam allowance, back-tacking and leaving a hole for turning. 

Cut the corners, being careful not to cut the threads.

Pull the fabric though the hole so that its right sides out. Poke out the corners with a corner-turner (or a dull pencil).

Fold the raw edges from the turning hole to the inside. Press all the way around, making sure that the seams are pushed all the way to the edge.

Stitch along the edge of the envelope to close up the hole that was left for turning. I did two lines of stitching, one using the edge of foot, edge of fabric and one as close to the edge of the fabric as I could get. If you want you can just stitch as close to the edge of the fabric as you can.
 
Fold up one half of the envelope 2 and 7/8" to form a pocket. Press and pin.

Stitch around three edges as close to the edge of the fabric as you can. Make sure to back-tack. 
Slip in a gift card and you're DONE!

Monday, December 10, 2012

Martha Washington - Colonial Costume

My grandmother is a very proud member of the Daughters of the American Revolution. Remember Emily (the mother/grandmother) from Gilmore Girls? She was a high society DARer, they had high teas and judged everyone. Major gossiping and a lot of keeping up with the Joneses. My grandmother, Mimi, is just an endearingly eccentric member of a society committed to doing good in the community, spreading American pride, and restoring historic properties. From what I have experienced with her DAR chapter, its a really lovely group of (mostly) older ladies who just love this country and its exciting history.

While I was in college my Mimi asked me to make her a colonial costume for her to wear to her DAR events. They often have teas and social events where it is appropriate to dress up as your Revolutionary War ancestors. I didn't have time to work on it durring college and had totally forgotten about it until this summer when she asked me to tackel the project again. This time I was interested.

It took me a few weeks worth of nap time sewing blitzes, but it finally done. Just in time too! Mimi's DAR Christmas party is this week. I am so excited for her to see it and be able to wear it to her Christmas party.

Mimi said she didn't really care if it wasn't historically accurate (meaning I could use a zipper) so I used the Simplicity pattern # 2354. I had to make some adjustments and alterations. I added lace to the cuffs. The sleeves were ridiculously long, so I added some ruching to them. I didn't do the ribbom detail on the stomacher because I just didn't like it. I had to tea dye the bodice fabric because it was much to bright white. The pattern was pretty simple to put together and if I didn't have a little one tugging at me all the time it would have been done much more quickly. I think it turned out really nicely, check it out and let me know what you think!


Sunday, August 26, 2012

Kiwi Coasters (Tutorial and Pattern!)

I believe inspiration comes from anywhere and everywhere. 

I love Molly's Sketchbook from the brilliance of The Purl Bee.

I love the little projects. They are so sweet and often have just enough quirk to make me feel funky. I am all over little kitschy projects that make my home mine. These kiwi coasters were inspired by the Apple and Citrus Coasters from Molly's Sketchbook.

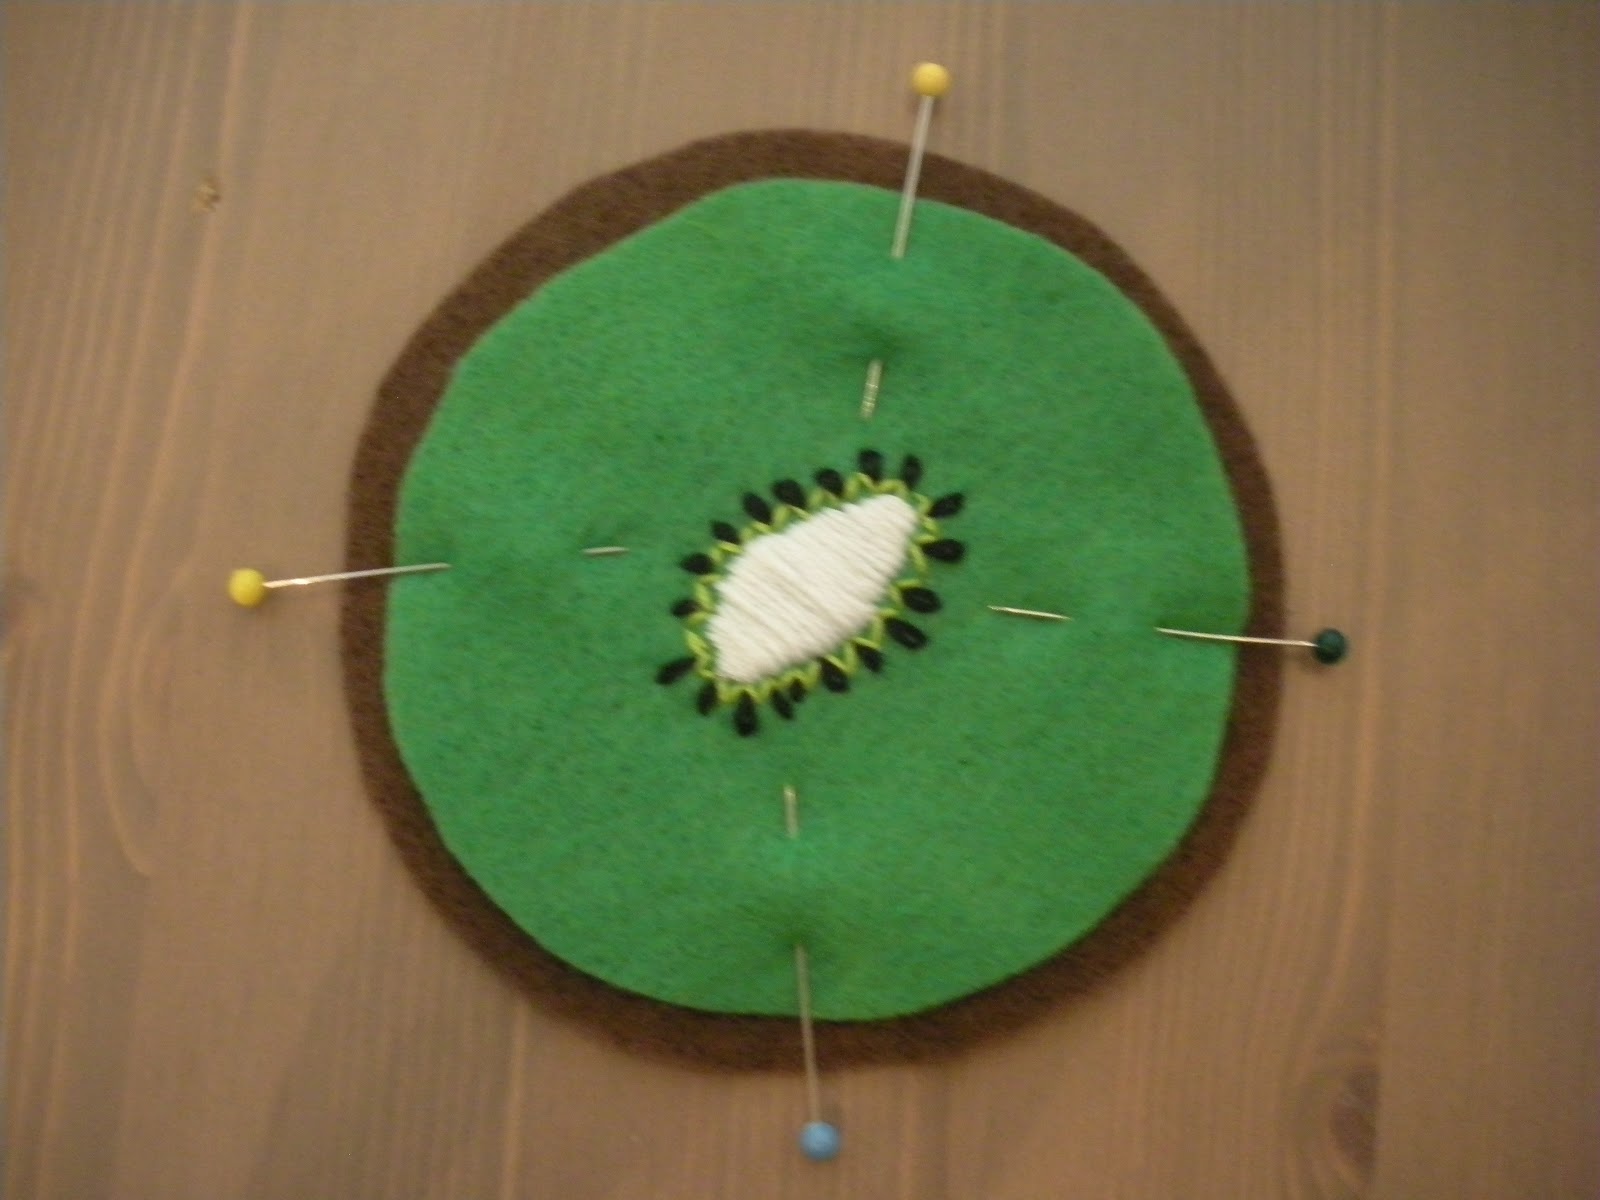
My Kiwi Coasters are a really quick and simple project to add some fun to your  day to day life. I made six coasters, but you can make as many or as few as you like. Each coaster takes about 30 mins from start to finish. So, try wipping up some great little Kiwis for your drinks to rest on.


Kiwi Coasters
What you will need:
(this tutorial is for 6 coasters)

  • 3 sheets of brown felt
  • 2 sheets of green felt
  • Lime green embroidery floss
  • Kelley green embroidery floss
  • Black embroidery floss
  • White embroidery floss
  • Brown embroidery floss
  • The Usual Stuff (hand embroidery needle, fabric scissors, paper scissors, straight pins, etc...)

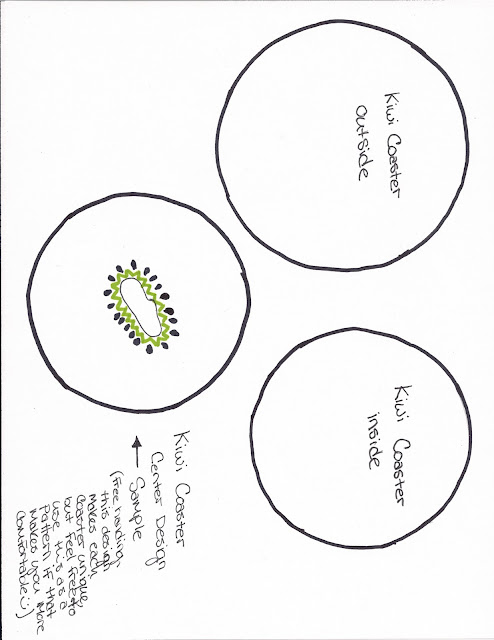
Cut out the circles according to the pattern (scroll down to the bottom of the post to find the pattern). For each coaster you will need two larger brown circles and one smaller green circle.

For the center of the kiwi use white embroidery floss and the satin stitch (check out this tutorial). Stitch a organic, kidney bean kinda shape in the middle of your green circle, I have drawn a guide for this on the pattern, but I think it looks great when all the centers are a little different. So, don't be scared to free-hand this!

With the lime green floss stitch little "V" shapes all around the center of the kiwi. Again, free-handing this gives it a great organic feel! 

Using the lazy daisy (tutorial) stitch little "seeds" in each of the V's you just created. 

Once your embroidery is all done, pin the green circle on top of one of the brown circles and pin in place.

Using the running stitch (tutorial), stitch around the perimeter of the green circle.

Pin the brown and green circles on top of the remaining brown circle. Starting from the inside stitch around the perimeter using the running stitch (tutorial).


Trim the edges so the brown circles are even. 


Here is the pattern. Print it out on a full sheet of paper.


Tuesday, July 10, 2012

Beach and Imagination Tent Update (tutorial)

Like I said, I love this Beach and Imagination tent tutorial from Cakies.
I love it so much I am thinking about making a few more. 


The only thing that I thought it was missing was some form of storage. As is you can fold up the fabric and stack the boards, but that is loose and there is much more opportunity for parts to go missing. I love things to have a place and to be kept with together so that when I need them I don't have to go searching for all the parts.


The other thing I wanted was a way to transport the tent. I intend to take it to the beach, the park, the backyard, wherever! I want to use this tent as a sun blocker, a refuge and a place for make-believing. I didn't want to be juggling loose boards and a folded up sheet along with a diaper bag and a baby.


Here is my solution.


I took the basic tent tutorial and added a shoulder strap and wraparound ties.
These basic additions (took me about an hour to whip up) fixed my issues and I am so happy with the way they turned out.


Beach and Imagination Tent Shoulder and Ties Tutorial
What you will need:

  • Two strips of woven cotton fabric cut to 46"x3"
  • One strip of woven cotton fabric cut to 25"x7"
  • The Usual Stuff (sewing machine, hand sewing needle, fabric scissors, straight pins, matching thread, rotary cutter and mat, square ruler, etc...)
This tutorial starts after the Cakies tutorial ends. So, stitch up the fabric and elastic loops as she directs and then pick up with this tutorial for the ties and shoulder strap.

Wash and press all fabric before using (just in case it shrinks)

Cut out pieces according to the measurements, or use a rotary cutter and square ruler. (Check out this tutorial for using a rotary cutter).


Fold the all three strips in half long ways. Using a 1/2" seam allowance stitch up the long sides of the strips creating three tubes. Trim the seams to 1/4".


Pin a safety pin to one end of one of the tubes, only pin through one layer of fabric. Feed the safety pin back through the tube to turn it right-side out. Just keep scrunching up the fabric around the pin until the pin comes out the other end of the tube, then keep pulling the pin through until all the tube is right-side out. Do this to the other two tubes.


Press the tubes. Fold the raw end of the tubes in about 1/2" on each end of the tubes.


Fold the tubes in half long ways (making sure the raw ends that you just pressed are on the inside of the fold) and press again. Pin if you want to, I didn't because my fabric was staying folded pretty well.


Stitch right on the edge of the fabric to keep the edges together, hopefully the photo will illustrate what I mean. This will create a very strong shoulder strap and ties.


Fold the tent fabric in half long ways. Measure 2" from the folded edge and mark with a pin through the top layer of fabric. Measure 2" from the opposite side and mark that with a pin through the top layer. Unfold/open up the tent fabric.


Fold the ties (the two thinner strips) in half. Lay the ties (the folded ends) on the tent fabric on top of the pins that you are using as markers, the ties should have 1 1/2" on the tent fabric and the rest hanging off the edge. Pin these in place.


Stitch the ties in two places. At the top edge of the tie and at the edge of the tent fabric. Make sure to stitch these ties really well. I went back and forth a few times.


Fold the tent fabric in half again. On the same end as the ties, measure 1 1/2" from the folded edge and the same amount from the non folded edge. Mark with pins.


Fold up 1" of the wider strip (the shoulder strap) on each end, press and pin. 


Lay the shoulder strap on the tent fabric, the folded edges down. The strap should be 2" from the edge of the tent fabric that has the ties and 1 1/2" from the long edges. Pin the strap through the 1" folded ends of the strap. There will be some slack in the strap, this is a good thing.


Stitch around the 1" folded edge making a square, then stitch an X across the square. 


Now just fold the tent fabric in half and stack your 1x2s and dowel at the end without the strap and ties. Roll up tightly. Tie the ties around the bundle. Slip the tent on your shoulder and go adventuring! 


DONE!


Let me know what you think! 


XOXO,
Coco