This blog is no longer hosted on this site. Check out the new and improved Domestic360 at domestic360life.com for even more DIYs, recipes, and fashion tips!
Showing posts with label vacation. Show all posts

Wednesday, January 30, 2013

Beach House Tresury

For as long as I can remember, my parents have been talking about buying a beach house. They have been searching for that perfect location and finally now that they have they are wasting no time in purchasing the vacation home of their dreams. 

The great thing about my parents having a beach house, is that we all get to use it whenever we want! Also, that its a brand new clean slate when it comes to decorating. I am so excited to finally get to use all those cute nautical themes (no ugly rental house decorations!) and to create an awesome retreat for my family.

Here is some inspiration from Etsy. 

What do you think? 
How would you decorate your dream beach house?


'Beach House' by CoreySue



Married to the Sea . large g...
$45.00

iPhone 5 Case, iPhone 5 Cove...
$15.00

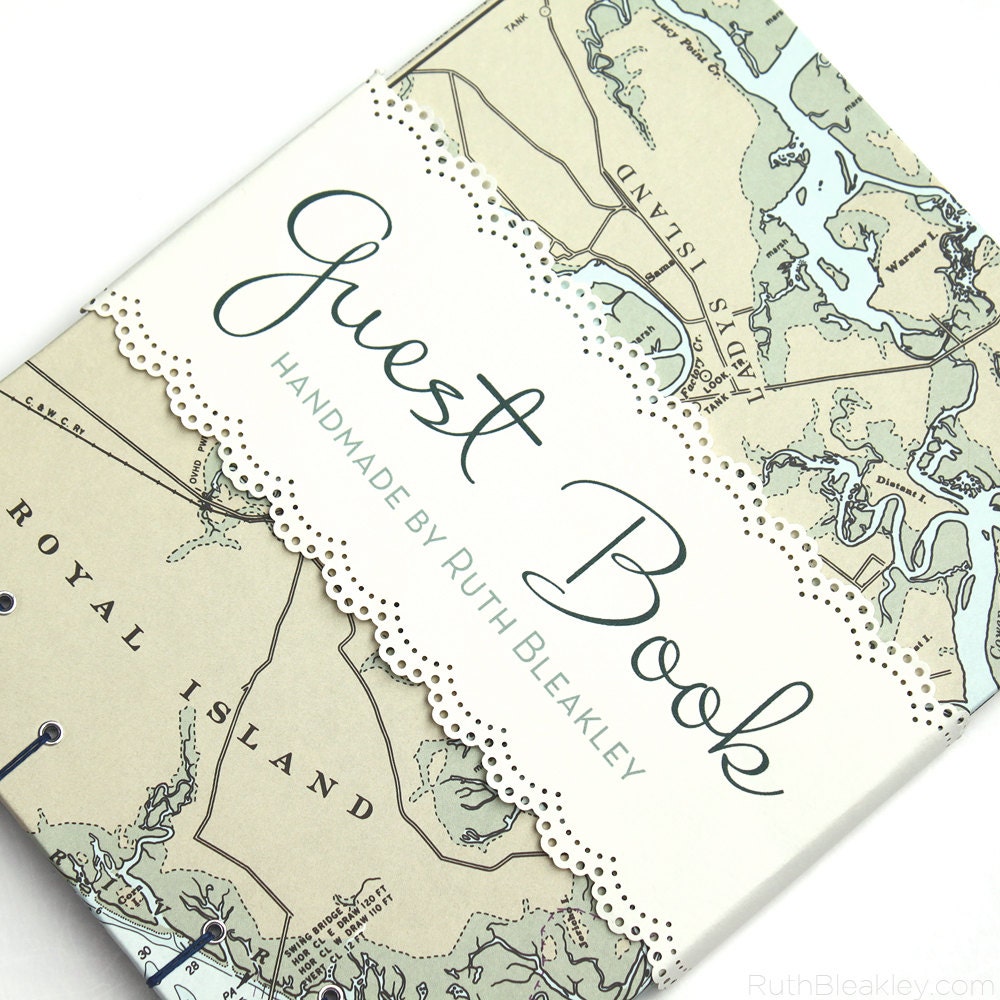
Beaufort Nautical Guestbook ...
$75.00

Starfish Beach Decor Large P...
$19.00

Bulk Driftwood--100 Pieces o...
$20.00

Gidget Mint Octopus Infinity...
$79.99

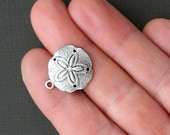
6 Sand Dollar Charms Antique...
$2.50

Beach Decor Cast Iron Mermai...
$48.00

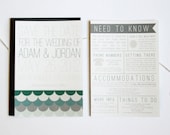
Scalloped Wedding Invitation...
$1.50

Twirly Turquoise Blue Chevro...
$15.00

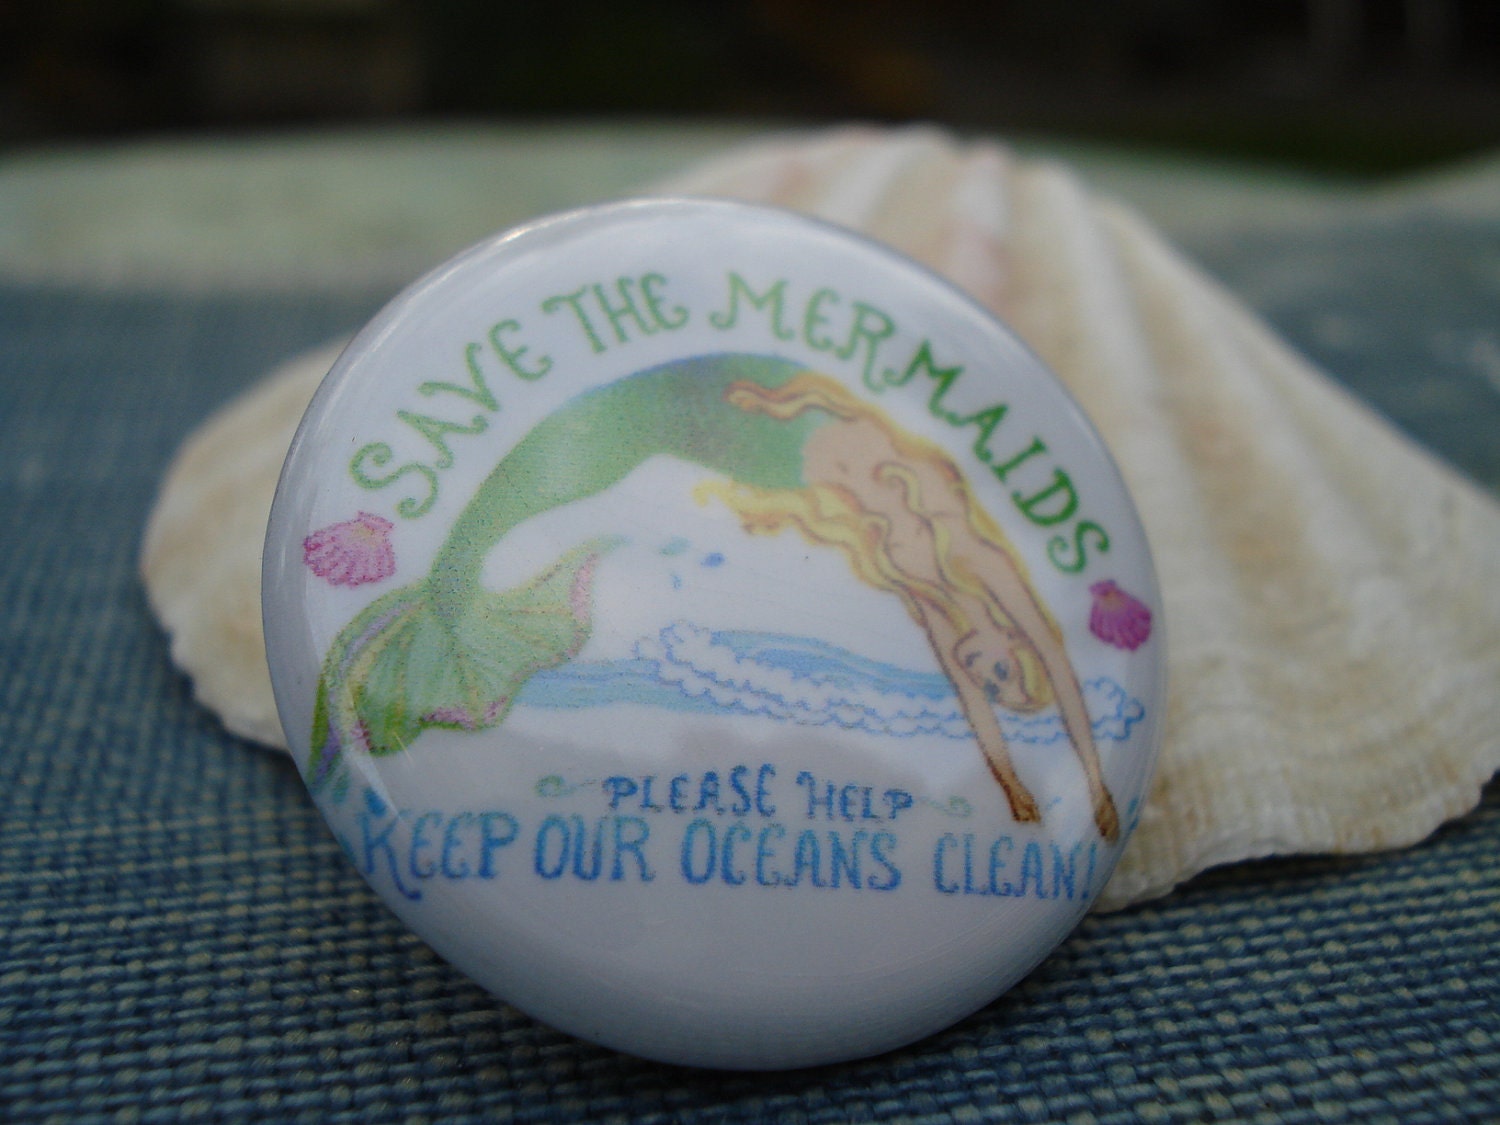
Save the Mermaids
$4.50

Make a Match - Beach Edition...
$21.00

Venice Beach Bag
$75.00

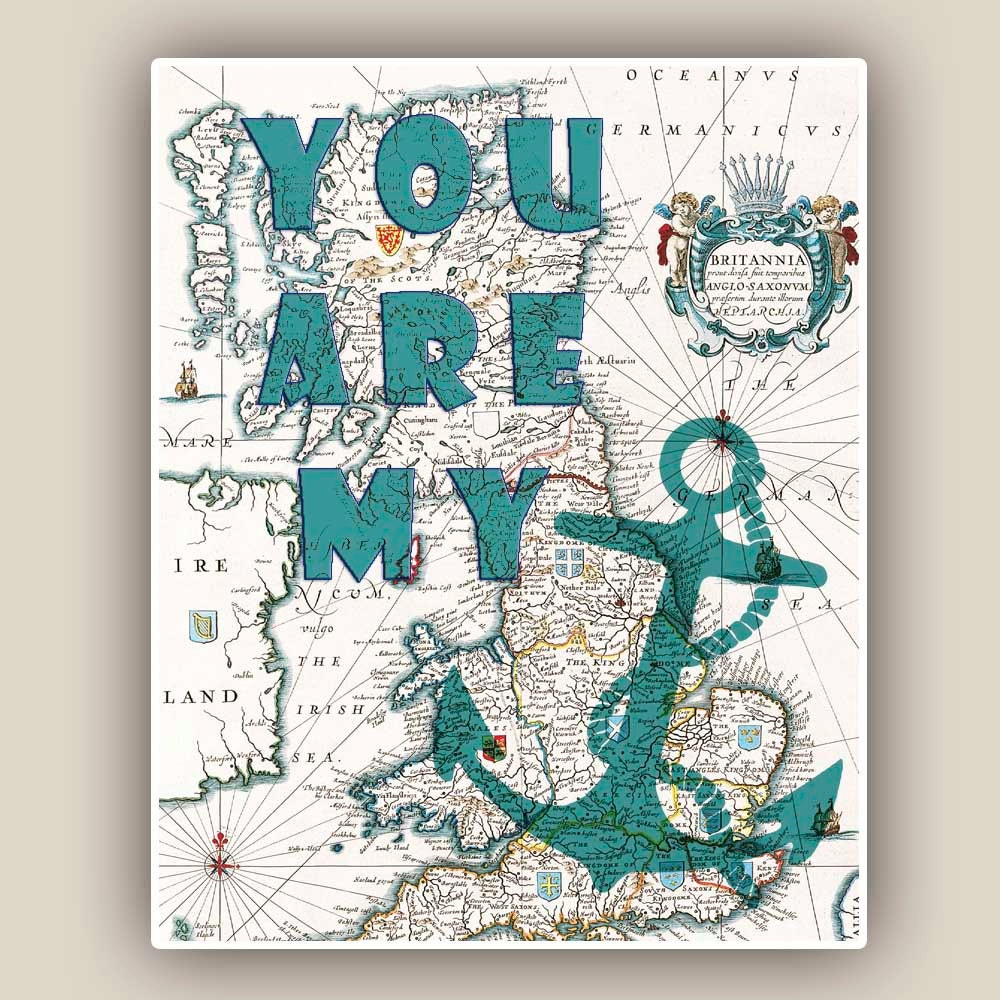
You are my anchor Print, Nau...
$13.50

Kids Wooden Toy Sailboat 1
$11.95

Monday, December 17, 2012

Christmastime in Colonial Williamsburg - Days 15 & 16

This past Saturday our family got up at 4:30 am and headed down the road to Colonial Williamsburg. We started going to Williamsburg when I was around 9 or 10 years old. Its a magical place. I really believe that these early visits to Williamsburg is where my love of costuming and history stems from. I loved dressing up and talking to all the interpreters. I couldn't get enough of this place. Fast forward 15 years and I still love the costumes (though, I don't dress up anymore) and the history, and the houses, and the magic of it all.


For as long as I can remember my mom has been talking about wanting to go down to Williamsburg for Christmas. If its a magical place the rest of the year its especially magical at Christmas time. There is something about the holidays that brings out the best in people and in the places that they inhabit. Everything is dresses up in beautiful greenery and twinkling lights. There is hot cider and fat gingerbread men. Its a great way to get into the holiday spirit.


We stayed at the Williamsburg Inn, which was awesome. Its where the Queen Mum stayed when she visited back in the day. The service was incredible and the building and grounds was beautiful. I got lost a few times trying to find my room because all the hallways looked the same, but it was totally worth it. The Inn was originally built by the Rockefellers in the 1930's as a place for their friends and family to stay in luxury while  they visited the newly opened Colonial Williamsburg. The Inn is just a block from the main street of the museum of Colonial Williamsburg.


We spent the whole weekend walking around the small museum town taking in the decorations, eating the amazing food, and enjoying the atmosphere. One of the unique things about Colonial Williamsburg is that its not just a stagnant museum, the people who work for the foundation actually live on the campus and in the historical houses. Some of the original out houses, such as the kitchens and barns have been turned into houses and the people who live there take decorating for Christmas very seriously. 

Every year the foundation has a wreath decorating competition. There is a cash prize and a ton of bragging rights on the line. This competition insures that the buildings are all decorated beautifully. All the wreaths are unique and hugely creative. The wreaths are decorated with fresh and dried fruit, dried flowers, feathers, shells  vegetables and other items that would have been available to the original occupants of the town. Just Google "Williamsburg Wreath Photos" and see what comes up. Its amazing. 


One of the highlights of the trip was witnessing one of the coolest innovations in live theatre that I've seen in a while. Its not even a new concept, but its something that pretty much one on is doing anymore. Street theatre. Virginia Theatre Machine is a two man show out of a traveling trailer that is set up and broken down every weekend in the town square of Williamsburg. 

Their Christmas show is a 30 minute version of a Christmas Carol done with puppets and clever gimmicks. Its a bit loud and silly for my usual preferred style, but that is what is required for drawing and keeping an audience who is standing in the street in the cold for 30 minutes. I was really impressed with the production quality and the script (which is reworked every year to keep things fresh), and the acting of the man who played Scrooge and did all the voices for the other characters which were portrayed by puppets.


I can't recommend Colonial Williamsburg at Christmastime highly enough. Its completely worth the trip. You can find plenty to for everyone in the family to do. Learning about the history of Christmas in the country and enjoying the festivities is such a great way to get in the holiday mood! 


Happy Christmas everyone! God save the King!


Friday, September 14, 2012

Beach House Cooking and Crock Pot Cinnamon Nuggets

Vacation!


We haven't have a family vacation since before we got married. Its been forever. Needless to say, we had been looking forward to this trip for quite some time.

Me and my husband love the beach. I wish we could move to a beach town (Savannah anyone?) and just live. If both our jobs didn't depend on cities, and if we could convince our families to relocate with us, I think we would move in a heartbeat. As it is, we will have to enjoy our liitle beach trips when we can get them.

One of the great things about family beach trips is the house. Everyone under one roof, for a whole week, eating together, laughing, screaming (kids and parents at kids), wispering in your room when you need to have a private conversation, etc... Its great.

Learning to live with people you grew up with, plus their spouces and kids, is such a weird experience. One of the places this weirdness is really prominate is the kitchen. Cooking in a beach house kitchen is a weird exerience to begin with. You are totally unformillar with the layout (took me three days to find a spatcula); there are is weird assortment of utencils and equipment; you have to bring your whole spice rack just incase you might have a craving for something that requires marjrom.

Crock pot cooking is the very best at the beach. Fix it, leave it, come home to a totally done meal. I love doing that at home, and its even better at the beach. After a long day in the sun and sand the last thing I want to do is cook a full dinner.  


When I think of crock pot cooking I don't ever think of breakfast. However there are really great breakfast options that can be made in the crock pot. Oatmeal can be put in overnight and is really great in the morning, and there are egg cassirols that are (reportably) yummy too.


When it comes to breakfast I love a pastry and a good cup of coffee. This year I wanted to make a round of cinnamon rolls, however I didn't want to do the work. So, I did a bit of recipe research and came up with these Crock Pot Cinnamon Nuggets. Cinnamony goodness, gooey, sugery, unhealthy, vacation food.


The only issue I found with this recipe is that it takes longer to cook than I would have liked for breakfast. I woke up early to put everything together in the crock pot and then we still had to wait three hours to eat. It turned out to be more of a brunch food item, but no complants here! Plus the house smelled amaaazing while it cooked.


Cinnamon Nuggets


  • 1 cup white sugar
  • 2 tablespoon ground cinnamon
  • 3 cans refridgerated homestyle buiscuits (this recipe would work with one can of buiscuits too)
  • 1/2 cup butter (1 stick)
  • 1/2 cup brown sugar
  • 1 teaspoon vanilla
  • pecan or walnut pieces (optional)
  • raisins (optional)
In a large zipper bag shake up the sugar and cinnamon to mix well. Cut the buiscuits into quarters with scissors. Dump the buiscuits pieces into the zipper bag and shake to coat. This is the perfect thing for helpful little hands, have a shaking dance party! Dump the contence of the zipper bag into a large crock pot. Mix in the nut pieces and raisons.

Melt the butter in a sauce pot on the stove, add the brown sugar and vanilla. Stir until combined. Pour this mixture over the nuggets in the crock pot. Place a paper towel (to catch the condensation) on top of the crockpot and then put to lid on. Cook for two to four hours on low.

Glaze


  • 1 1/3 cups powdered sugar
  • 2 tablespoons milk (may need more to reach desired consistancy)
Stir together ingredents until combined. Drizzle glaze over nuggets when they are done cooking. 

Notes:
I think these could be cooked in a glass cake pand in the oven (350 for about 30mins?). I also think using cream cheese icing would be great too. It seemed like the nuggets on the edges of the crock pot cooked much more quickly while the nuggets in the center were still gooey, not sure how to fix this.

Tuesday, July 10, 2012

Beach and Imagination Tent Update (tutorial)

Like I said, I love this Beach and Imagination tent tutorial from Cakies.
I love it so much I am thinking about making a few more. 


The only thing that I thought it was missing was some form of storage. As is you can fold up the fabric and stack the boards, but that is loose and there is much more opportunity for parts to go missing. I love things to have a place and to be kept with together so that when I need them I don't have to go searching for all the parts.


The other thing I wanted was a way to transport the tent. I intend to take it to the beach, the park, the backyard, wherever! I want to use this tent as a sun blocker, a refuge and a place for make-believing. I didn't want to be juggling loose boards and a folded up sheet along with a diaper bag and a baby.


Here is my solution.


I took the basic tent tutorial and added a shoulder strap and wraparound ties.
These basic additions (took me about an hour to whip up) fixed my issues and I am so happy with the way they turned out.


Beach and Imagination Tent Shoulder and Ties Tutorial
What you will need:

  • Two strips of woven cotton fabric cut to 46"x3"
  • One strip of woven cotton fabric cut to 25"x7"
  • The Usual Stuff (sewing machine, hand sewing needle, fabric scissors, straight pins, matching thread, rotary cutter and mat, square ruler, etc...)
This tutorial starts after the Cakies tutorial ends. So, stitch up the fabric and elastic loops as she directs and then pick up with this tutorial for the ties and shoulder strap.

Wash and press all fabric before using (just in case it shrinks)

Cut out pieces according to the measurements, or use a rotary cutter and square ruler. (Check out this tutorial for using a rotary cutter).


Fold the all three strips in half long ways. Using a 1/2" seam allowance stitch up the long sides of the strips creating three tubes. Trim the seams to 1/4".


Pin a safety pin to one end of one of the tubes, only pin through one layer of fabric. Feed the safety pin back through the tube to turn it right-side out. Just keep scrunching up the fabric around the pin until the pin comes out the other end of the tube, then keep pulling the pin through until all the tube is right-side out. Do this to the other two tubes.


Press the tubes. Fold the raw end of the tubes in about 1/2" on each end of the tubes.


Fold the tubes in half long ways (making sure the raw ends that you just pressed are on the inside of the fold) and press again. Pin if you want to, I didn't because my fabric was staying folded pretty well.


Stitch right on the edge of the fabric to keep the edges together, hopefully the photo will illustrate what I mean. This will create a very strong shoulder strap and ties.


Fold the tent fabric in half long ways. Measure 2" from the folded edge and mark with a pin through the top layer of fabric. Measure 2" from the opposite side and mark that with a pin through the top layer. Unfold/open up the tent fabric.


Fold the ties (the two thinner strips) in half. Lay the ties (the folded ends) on the tent fabric on top of the pins that you are using as markers, the ties should have 1 1/2" on the tent fabric and the rest hanging off the edge. Pin these in place.


Stitch the ties in two places. At the top edge of the tie and at the edge of the tent fabric. Make sure to stitch these ties really well. I went back and forth a few times.


Fold the tent fabric in half again. On the same end as the ties, measure 1 1/2" from the folded edge and the same amount from the non folded edge. Mark with pins.


Fold up 1" of the wider strip (the shoulder strap) on each end, press and pin. 


Lay the shoulder strap on the tent fabric, the folded edges down. The strap should be 2" from the edge of the tent fabric that has the ties and 1 1/2" from the long edges. Pin the strap through the 1" folded ends of the strap. There will be some slack in the strap, this is a good thing.


Stitch around the 1" folded edge making a square, then stitch an X across the square. 


Now just fold the tent fabric in half and stack your 1x2s and dowel at the end without the strap and ties. Roll up tightly. Tie the ties around the bundle. Slip the tent on your shoulder and go adventuring! 


DONE!


Let me know what you think! 


XOXO,
Coco