This blog is no longer hosted on this site. Check out the new and improved Domestic360 at domestic360life.com for even more DIYs, recipes, and fashion tips!
Showing posts with label homemade-chic. Show all posts

Sunday, August 26, 2012

Kiwi Coasters (Tutorial and Pattern!)

I believe inspiration comes from anywhere and everywhere. 

I love Molly's Sketchbook from the brilliance of The Purl Bee.

I love the little projects. They are so sweet and often have just enough quirk to make me feel funky. I am all over little kitschy projects that make my home mine. These kiwi coasters were inspired by the Apple and Citrus Coasters from Molly's Sketchbook.

My Kiwi Coasters are a really quick and simple project to add some fun to your  day to day life. I made six coasters, but you can make as many or as few as you like. Each coaster takes about 30 mins from start to finish. So, try wipping up some great little Kiwis for your drinks to rest on.


Kiwi Coasters
What you will need:
(this tutorial is for 6 coasters)

  • 3 sheets of brown felt
  • 2 sheets of green felt
  • Lime green embroidery floss
  • Kelley green embroidery floss
  • Black embroidery floss
  • White embroidery floss
  • Brown embroidery floss
  • The Usual Stuff (hand embroidery needle, fabric scissors, paper scissors, straight pins, etc...)

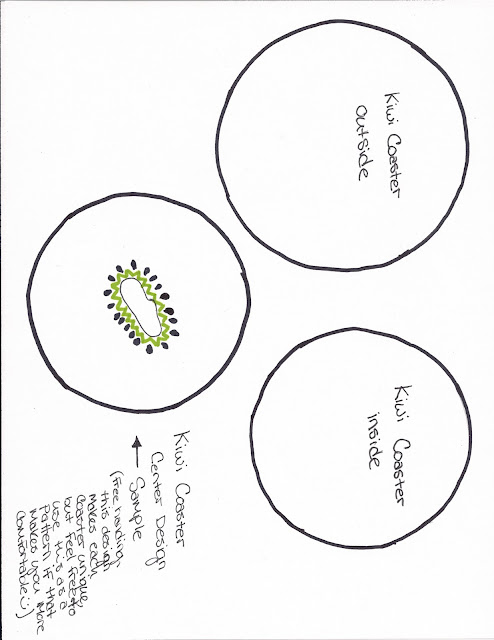
Cut out the circles according to the pattern (scroll down to the bottom of the post to find the pattern). For each coaster you will need two larger brown circles and one smaller green circle.

For the center of the kiwi use white embroidery floss and the satin stitch (check out this tutorial). Stitch a organic, kidney bean kinda shape in the middle of your green circle, I have drawn a guide for this on the pattern, but I think it looks great when all the centers are a little different. So, don't be scared to free-hand this!

With the lime green floss stitch little "V" shapes all around the center of the kiwi. Again, free-handing this gives it a great organic feel! 

Using the lazy daisy (tutorial) stitch little "seeds" in each of the V's you just created. 
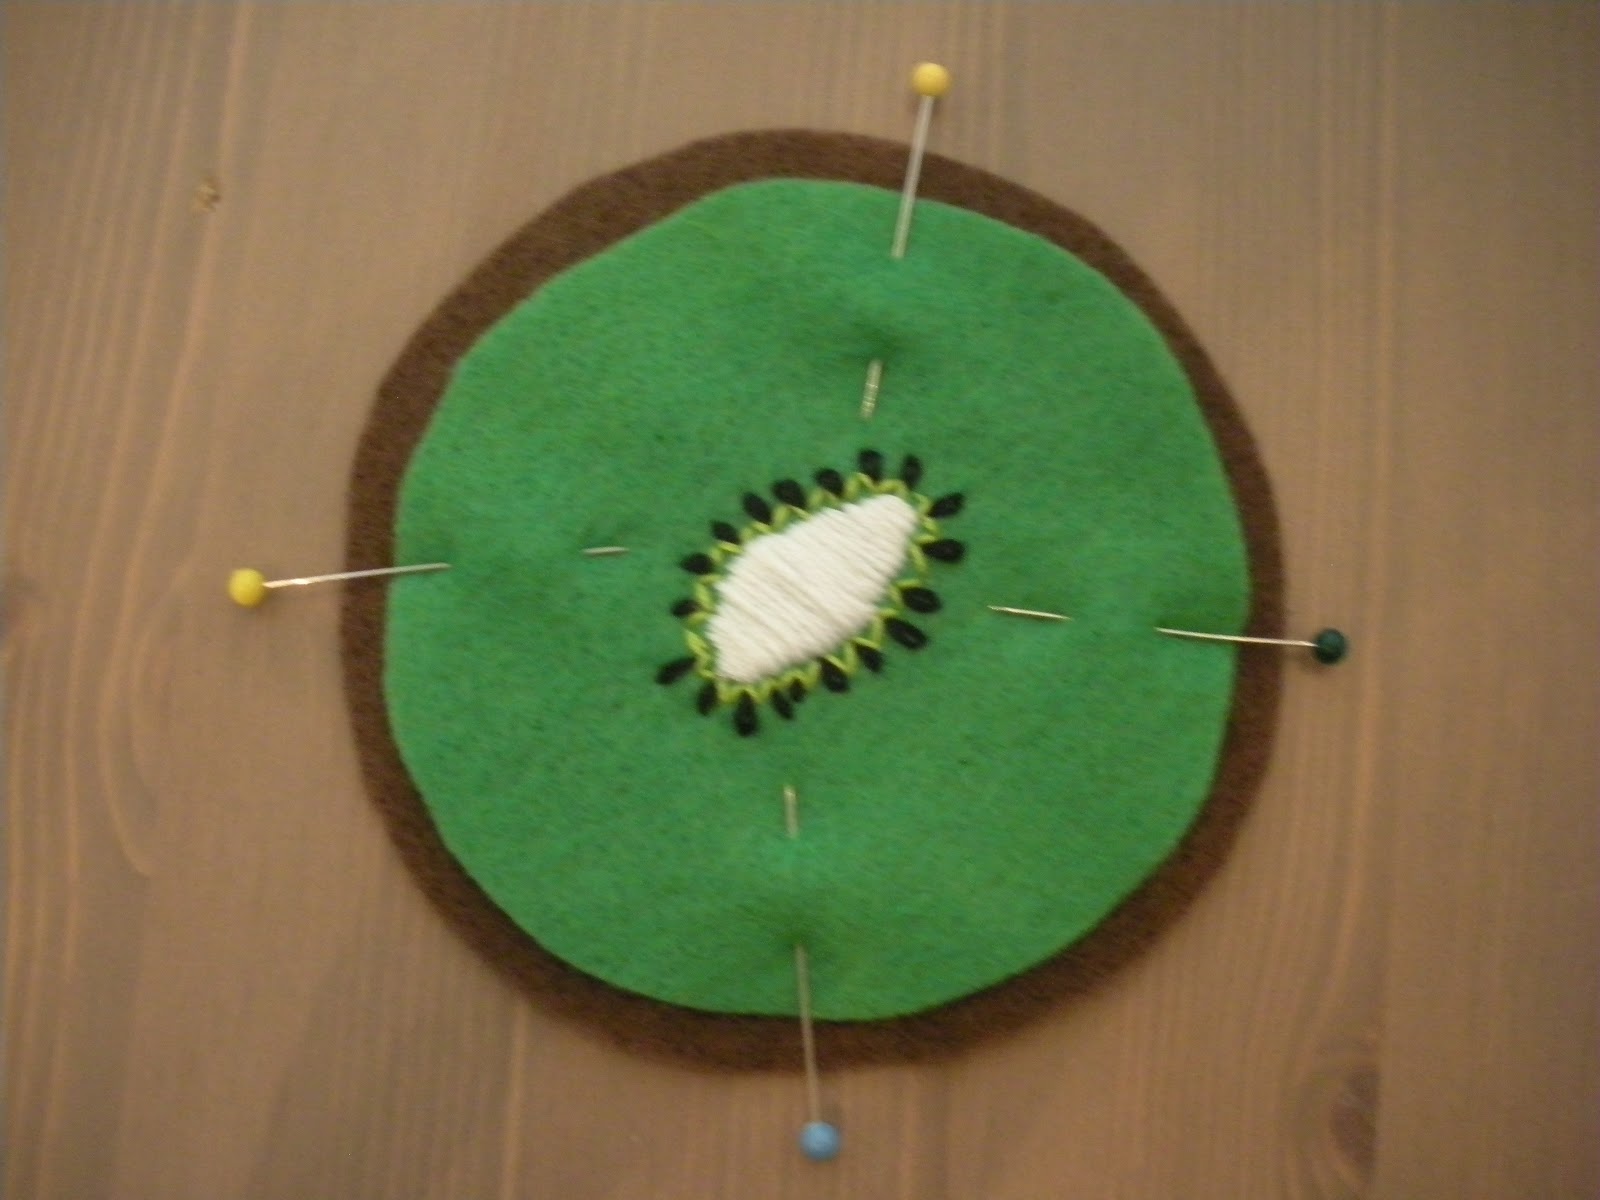
Once your embroidery is all done, pin the green circle on top of one of the brown circles and pin in place.

Using the running stitch (tutorial), stitch around the perimeter of the green circle.

Pin the brown and green circles on top of the remaining brown circle. Starting from the inside stitch around the perimeter using the running stitch (tutorial).


Trim the edges so the brown circles are even. 


Here is the pattern. Print it out on a full sheet of paper.


Friday, June 1, 2012

Hey Jude! IKEA Hack Lamp (with tutorial)


My theory with names like Charlie Brown (my parent's neighbor), Josh Hartnett (a friend from college), Harry Potter (read an article about a baby with this name), is that you have to either HATE it or EMBRACE it. My sister, Annie, is always getting renditions of "The sun will come out tomorrow!" crooned to her. So, when we named our son Jude, we knew he would be sung to pretty much his whole life. At least he gets a great song by a great band. My hope is that he will embrace his "theme song" and not hate the Beatles just because.

In the spirit of embracing the name Jude, I decided that he needed a little Hey Jude in his room. One of  my favorite lines from that song is "Take a sad song and make it better..." How much more inspiring can you get? You have the power to change your world. Take a sad song and make it better. Alter your life and make it something you love and that is worth living to the fullest.  If my son takes anything away from Hey Jude, I hope it is this sentiment. 

With that in mind, I took my favorite Hey Jude line and hacked an IKEA lamp shade. I had been playing around with the idea of hacking this lamp shade for a while. I love the vines and flowers, but it looked a little plain for my style and especially for a little boys nursery. I thought about stenciling the lyrics to the whole song. I considered tapping out some words and painting the whole lamp shade, removing the tapped on letters and have a negative space sort of thing going on. I finally settled on stitching the lyrics to the "Take a sad song and make it better" line. I love how it turned out! Kind of a homemade-chic look, not too perfect, with lots of love.


Hey Jude! IKEA Hack Lamp Shade Tutorial
What you will need:
  • IKEA lamp shade (pretty much any lamp shade will work)
  • Embroidery floss
  • Embroidery needle
  • Embroidery wax
  • Thumb tack/push pin
  • Scrap paper
  • Tape
  • Fabric snips and regular paper scissors
How to:

Cut scraps of paper about 3" tall and long enough to wrap around the base of the shade. (You can type up the letters on your computer and print them of you prefer, just play with the size of the font til you get something you are happy with.)


Tape the paper pieces together so they make one long banner. Wrap the banner around the base of your shade and tape in place. You will need to fold and snip the paper so that it fits nicely.


Using your push pin to make the pilot holes in the shade. Puncture the shade along the lines of the letters about 1/8" apart.  This took me a while and it was really hard on my fingers, but I made a fresh pot of coffee and watched a movie.


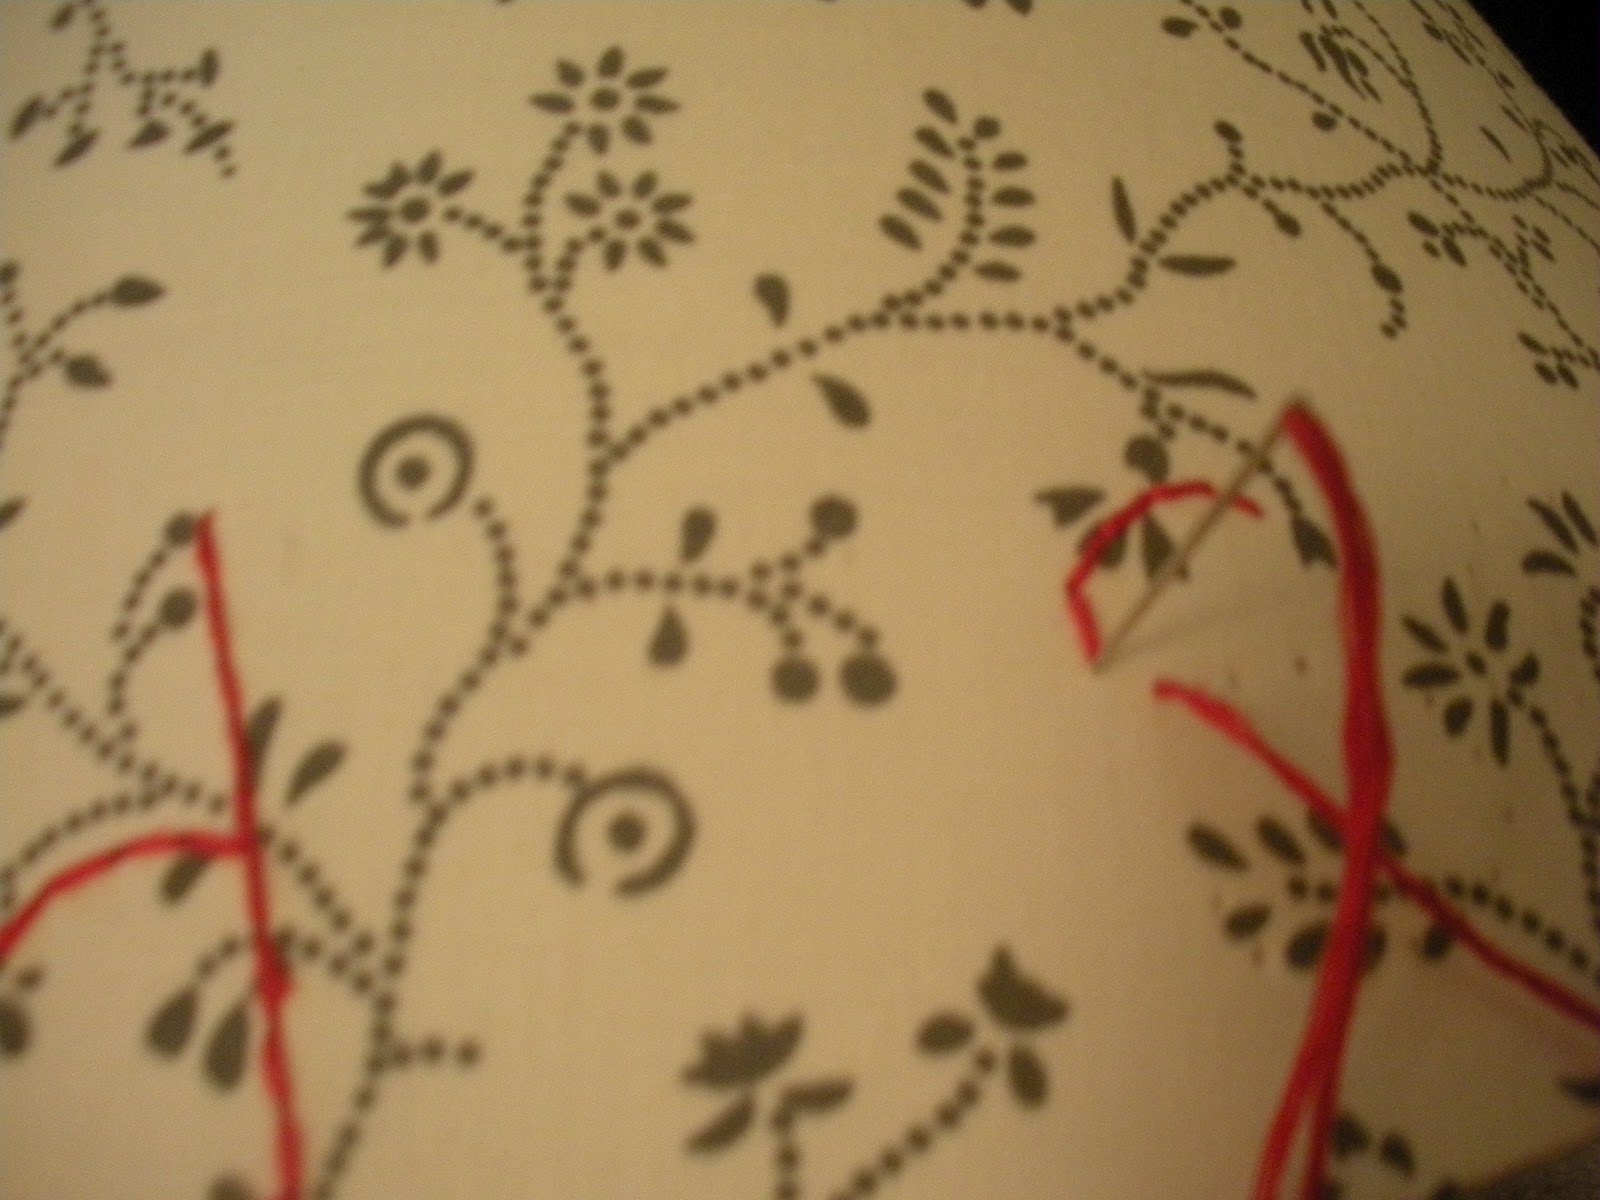
Using the back stitch method, (see this video for instructions), stitch your letters using your pilot holes as a guide. Sometimes the thread gets stuck on the plastic of the shade, if this happens run your thread along the wax to grease it up.  To make the dot on i's, a period or an ellipsis (...), use a french knot (see this video for instructions).


Thats it! Hang your new awesome shade on a lamp stand, add a light bulb (or lamp as we say in the theatre world) and enjoy the inspiration! Take a sad song and make it better!

This is a really simple project, it really doesn't take very long and makes a big statement. Try it out and let me know how it goes. I would LOVE to see what you come up with!