I love Molly's Sketchbook from the brilliance of The Purl Bee.
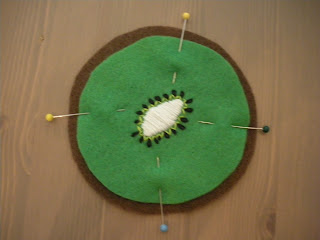
I love the little projects. They are so sweet and often have just enough quirk to make me feel funky. I am all over little kitschy projects that make my home mine. These kiwi coasters were inspired by the Apple and Citrus Coasters from Molly's Sketchbook.
My Kiwi Coasters are a really quick and simple project to add some fun to your day to day life. I made six coasters, but you can make as many or as few as you like. Each coaster takes about 30 mins from start to finish. So, try wipping up some great little Kiwis for your drinks to rest on.
Kiwi Coasters
What you will need:
(this tutorial is for 6 coasters)
- 3 sheets of brown felt
- 2 sheets of green felt
- Lime green embroidery floss
- Kelley green embroidery floss
- Black embroidery floss
- White embroidery floss
- Brown embroidery floss
- The Usual Stuff (hand embroidery needle, fabric scissors, paper scissors, straight pins, etc...)
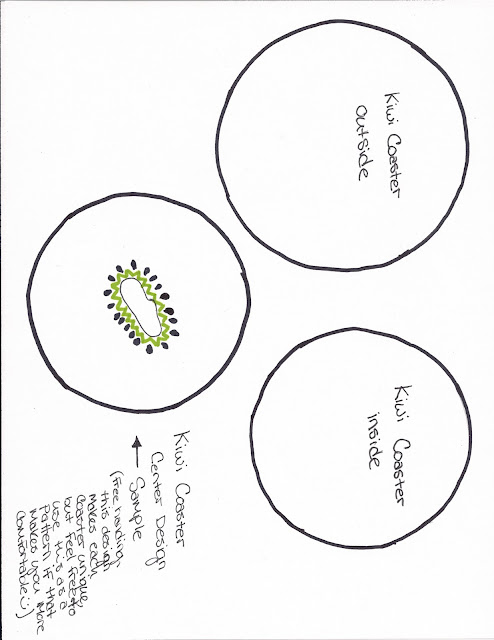
Cut out the circles according to the pattern (scroll down to the bottom of the post to find the pattern). For each coaster you will need two larger brown circles and one smaller green circle.
With the lime green floss stitch little "V" shapes all around the center of the kiwi. Again, free-handing this gives it a great organic feel!
Using the lazy daisy (tutorial) stitch little "seeds" in each of the V's you just created.
Once your embroidery is all done, pin the green circle on top of one of the brown circles and pin in place.
Using the running stitch (tutorial), stitch around the perimeter of the green circle.
Pin the brown and green circles on top of the remaining brown circle. Starting from the inside stitch around the perimeter using the running stitch (tutorial).
Trim the edges so the brown circles are even.
Here is the pattern. Print it out on a full sheet of paper.


Super cute! I love the tiny seeds especially. Adorable.
ReplyDeleteThanks, Tessa!
Delete