This blog is no longer hosted on this site. Check out the new and improved Domestic360 at domestic360life.com for even more DIYs, recipes, and fashion tips!

Monday, June 11, 2012

ConCon the Dino (Pattern and Tutorial)

This year I have made a commitment to making as many of the gifts that I give by hand. Not only are we saving a ton of money doing this, but the gifts mean so much more! I love being creative with what I make for my family and friends and I hope they are enjoying them. I made this awesomely cute dinosaur for my nephew's first birthday. I can't believe how great it turned out! 

It really is a simple project, I made it in about three hours (may have taken less time if I had some clue about what I was doing.) I dare you to take this project on!

I have to apologize, I don't have any process photos because I made this gift last minute and I didn't take the time to photograph the steps. I do plan on making another dino for my son and I will take process photos then and get them up here for clarity's sake. 


ConCon the Dino Tutorial
What you will need:
  • 1/4 yard or 1 fat quater of quilting cotton (body)
  • 1/4 yard or 1 fat quater of quilting cotton (underbelly)
  • 1/4 yard or 1 fat quater of quilting cotton (plates ruffle)
  • Poly craft and pillow stuffing
  • The Usual Stuff (sewing machine, hand sewing needle, fabric scissors, paper scissors, straight pins, matching thread, pencil, paper, tape)
Print out the pattern pages on full sheets of printer paper (8.5x11). Line up the pattern pieces and tape along the tape lines. Tape on both sides of the paper. Cut out the pattern pieces with paper scissors. 

Pin the pattern pieces (body and underbelly) in place on your fabric and cut them out. For the plates ruffle, cut three strips that are 3"x23".

Stitch the three plates ruffle pieces together. Place the right sides together and stitch along the short ends using a 1/4" seam allowance. You will end up with a long strip of fabric. 

Now fold the long strip of fabric together, long ways and right sides out, press and pin. Stitch using a 1/4" seam allowance, or serge. I found it easier to serge, because then I wasn't dealing with fraying edges, but if you don't have a serger don't worry about it.

Stitch two gathering stitches along the bottom edge of the ruffle. (A gathering stitch is just the longest stitch that your machine will do, usually a 5 or 6. You stitch two lines of these very long stitches about 3/8" apart, do not backstitch. There is a really gathering stitch tutorial here.)

Pull the gathering stitches slowly and gently moving the fabric along the stitches so that the ruffle is formed. It will be very full. 

Sandwich the ruffle between the two body pieces, starting at the curve where the neck becomes the back. Pin the ruffle in place all along the back of the dinosaur's back and tail. About 5" from the tip of the tail, slop the ruffle down so that it gets shorter as the tail gets thinner. 

Using a basting stitch (a very wide stitch length and no back stitching), stitch along the top half of the body using 1/2" seam allowance. Turn the body right sides out and make sure the ruffle looks good and it is evenly ruffled all along the body. 

Turn inside out again. Pin the rest of the body together, from under the neck and around the head to the whole tail. Make sure that the ruffle is stuffed inside and will not get caught by the stitching on the underside of the tail. Pin the underbelly in place, it should reach from the mid-neck to the mid-tail and be pinned to the feet.

Stitch all around the dinosaur using 1/2" seam allowance. Leave about 2" at one of the underbelly sides for turning. Again be careful not to catch the ruffle (I did this, thats why I'm being so pushy about it.)

Turn the dinosaur right sides out and make sure everything is stitched properly (the ruffle isn't caught). If everything turned out alright, turn the dino back insides out and trim the seams to about 1/4" and clip the corners. If something is messed up, this is your chance to fix it before you cut your seam allowance.  

Turn the dino right sides out and poke out your corners. I usually use a dull pencil point or the point of my scissors, but you really shouldn't use these items for this purpose, because there is a chance you would poke a hole in your corner. They make point turners that are specifically for this purpose, I should get one.

Stuff the dino until it is a full as you like. Stitch the turning hole closed using a whip stitch (easier)  or a ladder stitch (a little more time consuming, but looks nicer.)


There you go! A sweet little dino ready to be loved. 


I hope you enjoy making a dino of your own. 
Let me know if you make one, I would love to see what you come up with!


Xoxo,
Corey


Here are the patterns:


Friday, June 1, 2012

Hey Jude! IKEA Hack Lamp (with tutorial)


My theory with names like Charlie Brown (my parent's neighbor), Josh Hartnett (a friend from college), Harry Potter (read an article about a baby with this name), is that you have to either HATE it or EMBRACE it. My sister, Annie, is always getting renditions of "The sun will come out tomorrow!" crooned to her. So, when we named our son Jude, we knew he would be sung to pretty much his whole life. At least he gets a great song by a great band. My hope is that he will embrace his "theme song" and not hate the Beatles just because.

In the spirit of embracing the name Jude, I decided that he needed a little Hey Jude in his room. One of  my favorite lines from that song is "Take a sad song and make it better..." How much more inspiring can you get? You have the power to change your world. Take a sad song and make it better. Alter your life and make it something you love and that is worth living to the fullest.  If my son takes anything away from Hey Jude, I hope it is this sentiment. 

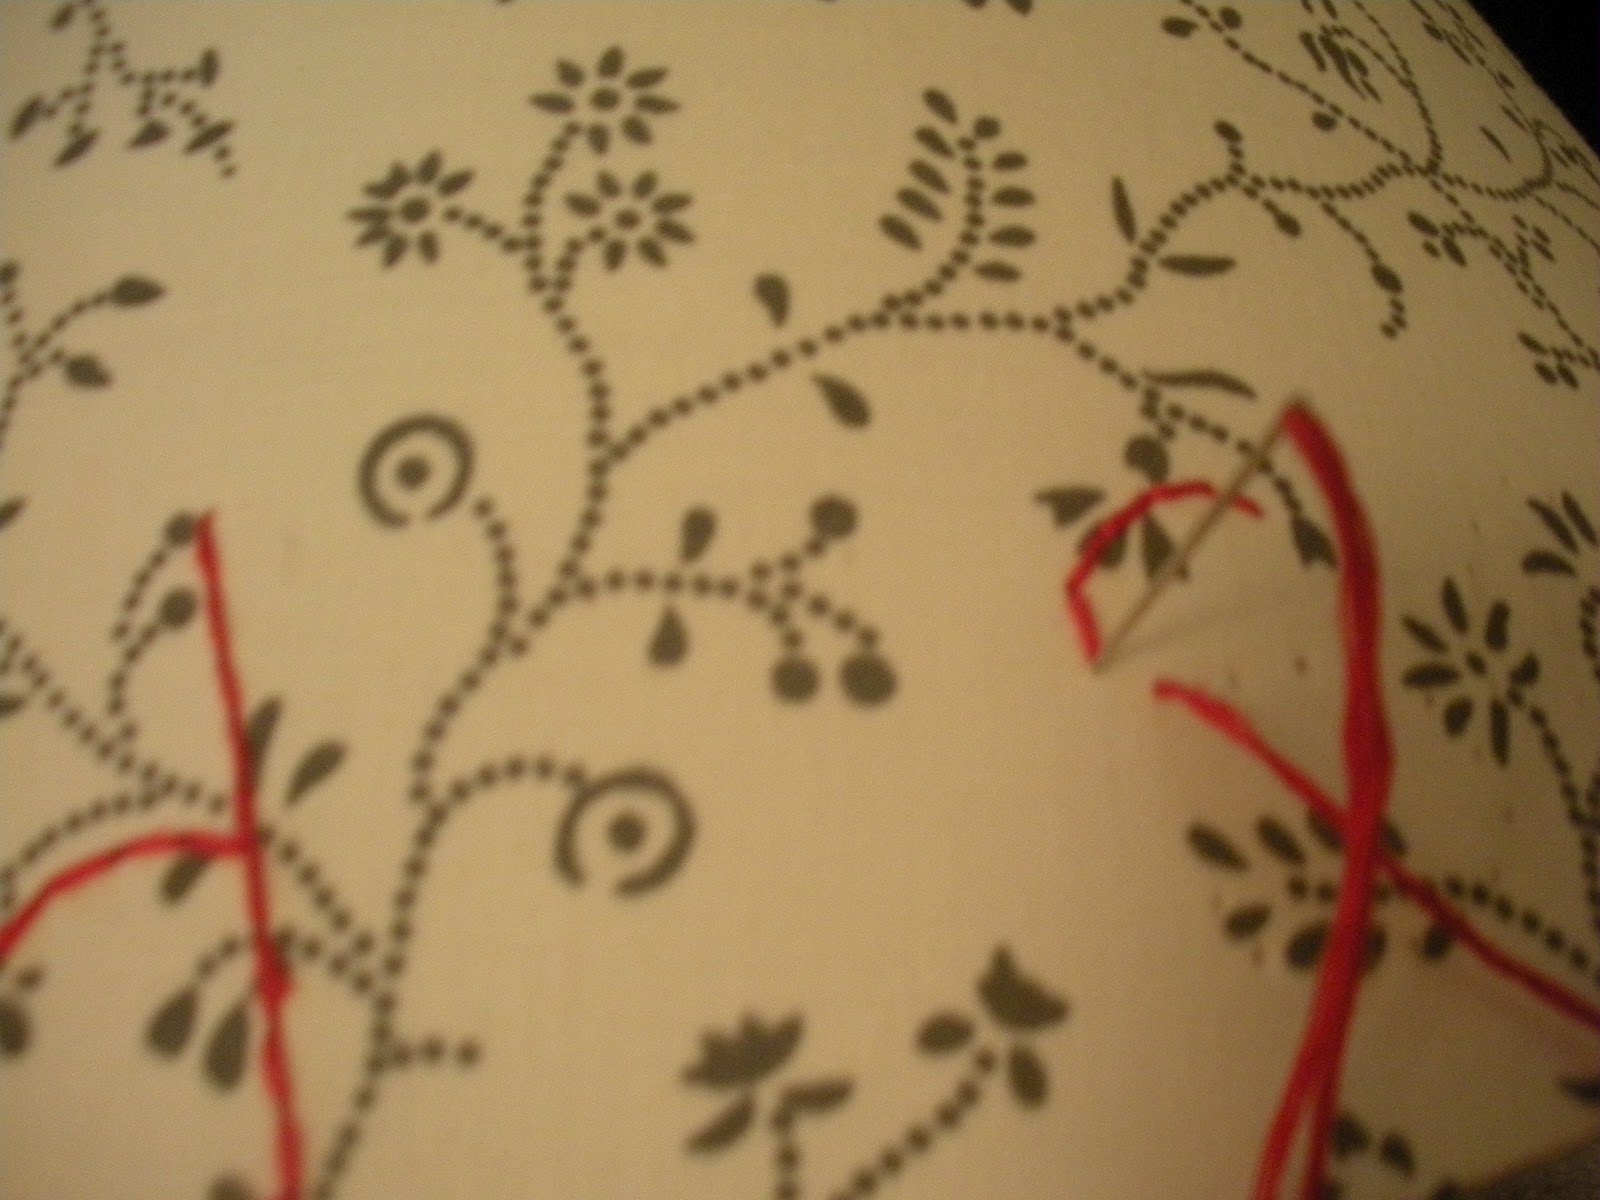
With that in mind, I took my favorite Hey Jude line and hacked an IKEA lamp shade. I had been playing around with the idea of hacking this lamp shade for a while. I love the vines and flowers, but it looked a little plain for my style and especially for a little boys nursery. I thought about stenciling the lyrics to the whole song. I considered tapping out some words and painting the whole lamp shade, removing the tapped on letters and have a negative space sort of thing going on. I finally settled on stitching the lyrics to the "Take a sad song and make it better" line. I love how it turned out! Kind of a homemade-chic look, not too perfect, with lots of love.


Hey Jude! IKEA Hack Lamp Shade Tutorial
What you will need:
  • IKEA lamp shade (pretty much any lamp shade will work)
  • Embroidery floss
  • Embroidery needle
  • Embroidery wax
  • Thumb tack/push pin
  • Scrap paper
  • Tape
  • Fabric snips and regular paper scissors
How to:

Cut scraps of paper about 3" tall and long enough to wrap around the base of the shade. (You can type up the letters on your computer and print them of you prefer, just play with the size of the font til you get something you are happy with.)


Tape the paper pieces together so they make one long banner. Wrap the banner around the base of your shade and tape in place. You will need to fold and snip the paper so that it fits nicely.


Using your push pin to make the pilot holes in the shade. Puncture the shade along the lines of the letters about 1/8" apart.  This took me a while and it was really hard on my fingers, but I made a fresh pot of coffee and watched a movie.


Using the back stitch method, (see this video for instructions), stitch your letters using your pilot holes as a guide. Sometimes the thread gets stuck on the plastic of the shade, if this happens run your thread along the wax to grease it up.  To make the dot on i's, a period or an ellipsis (...), use a french knot (see this video for instructions).


Thats it! Hang your new awesome shade on a lamp stand, add a light bulb (or lamp as we say in the theatre world) and enjoy the inspiration! Take a sad song and make it better!

This is a really simple project, it really doesn't take very long and makes a big statement. Try it out and let me know how it goes. I would LOVE to see what you come up with!


Monday, May 21, 2012

Diaper FAIL! (and how to fix it)

I love my son. I love being his mommy. I love almost everything that being a mommy brings to my life. 
One thing I do not love is the crazy amount of laundry I have to do on what seems like a daily basis. I especially do not love the nasty diaper explosions that just ruin his (and sometimes my) clothes. 

Since there is no handbook for new moms (if only!) I have had to do lots of on-the-job-training. This diaper fail thing is one of the many tricks I have picked up over the past eight months. 

Here is the before.
Pretty nasty, right?

Well, thankfully, I have experience with laundry.
I have learned a trick or two from my days of washing actors clothing for a living. Its relatively unbelievable what actors can do to a costume in the short amount of time that they actually wear the piece of clothing. Anyway, years of getting stains of blood, sweat, chocolate, hairspray, paint, etc... out of costumes overnight (in time for the next show) has taught me a thing or two. 

If you have ever tried to get poop stains out of your babies clothing you know how hard it is to really make it go away. Well here is your answer! I have even used this system on poop stains that are days old. I have done this so many times that I can pretty much guarantee it will work.


Step One: 
Rince the poop off the item of clothing.
(To be honest, sometimes I skip this step, but then there are poop flecks, eww, floating around the bucket.) 


Step Two:


Step Three:
Put a scoop of Oxi Clean Perfume and Dye Free Verstile Stain Remover in the bottom of a laundry bucket. Add enough hot water to swish around in the bucket and mix with the Oxi Clean. You want the powder to be totally disolved.  I use the Perfume and Dye Free Oxi Clean because my son has sensitive skin, but the other stuff works just as well.

Step Four:
Fill the bucket about 3/4 full with hot water, I usually do this in the bathtub.

Step Five:
Add your poopy (or stained) clothing. Stir the clothes into the solution with a wooden spoon (make sure you dedicate this spoon to laundry and it never gets put back in your kitchen) or with your hand.

Step Six:
Let sit for a few hours or over night. If you remember, give the solution a stir every once and awhile.

Step Seven:
Dump the whole solution and clothes into the washer with your normal load of baby clothes and normal detergent. Run it through whatever cycle you usually use for baby clothes, I always use hot/cold settings, and then dry like normal.


There you go! Thats it! 
Happy baby with clean clothes.  

This works super well for poop stains and I have used it to freshen up kitchen towels and other items around the house. Its a really easy way to keep your kids clothes looking nice and clean. 

NOTE: I have only tried this with breast milk poop, not sure how it would work with formula poop.

Wednesday, May 9, 2012

Rocket Ship Coffee Cozy Pattern and Tutorial


Here is the pattern and tutorial for the Rocket Ship Cozy
I hope you enjoy making your very own rocket ship! Please comment and tell me about what you are making, I would love to see pictures and hear your stories.


  • What you need:
    • One sheet of felt 9”x12” OR ⅛ yard of felt (I used navy)
    • One sheet of felt 9”x12” OR ⅛ yard of felt (I used mustard yellow)
    • One sheet of felt 9”x12” OR ⅛ yard of felt (I used grey)
    • Scraps of felt for the flames, windows, legs, and tip (I used yellow, orange, light blue, blue, and hot pink)
    • Small amount of thin cotton quilt batting
    • 4” of cord 2mm cord elastic
    • One ¾” button
    • Matching thread
    • Contrasting embroidery thread
    • Fabric paint (I used white and glow in the dark)
    • One sheet transparency film (used for old-school over-head projectors)
  • Cut out two pieces of felt using the EXTRA WIDE - FELT. To do this, layer the two sheets of felt (the navy and mustard); pin the pattern in place, and cut out using very sharp fabric scissors.
  • Cut out the constellations stencil. Lay the sheet of transparency film, on top of the stencil pattern, use a permanent marker to trace the stencil pattern onto the film, including the outside edge of the cozy shape. Use a mini hole punch and an exacto knife to cut out the pattern.
  • Tape the piece of navy felt to a piece of wax paper. Tape the constellations stencil on top of that. Using a sponge, sponge white and glow in the dark fabric paint onto the cozy. Let dry overnight. Test glow by holding the felt piece under a light for about 30 seconds and then turning off the lights. If it doesn’t glow enough for your taste add more paint and let dry overnight.
  • Layer the two cozy pieces of felt (the navy and the mustard) on top of each other making sure to match up the edges and corners. Fold the elastic in half and pin inside the felt sandwich according to the elastic placement marking on the pattern. Pin the rest of the sandwich so that it doesn’t move while sewing.
  • Using the sewing machine, stitch around the perimeter of the felt, ⅛” from the edge; making sure to back-stitch at the beginning and the end.
  • Sew the button onto the cozy, see the button placement marking on the pattern, going through both layers of felt.
  • Cut out the rest of the shapes, following the patterns. Grey for the rocket body; light blue for the outer windows; blue for the inner windows; hot pink for the rocket tip and legs; mustard yellow for the small flame; orange for the large flame. Cut the cotton quilt batting.
  • Stitch the light blue outer windows into place on one piece of the grey rocket body. Stitch the inner window piece in place on top of the light blue outer window pieces. Stitch the small flame onto the large flame.
  • Sandwich the quilt batting in between the two grey rocket pieces of felt, pin. Place the rocket legs and the flame in between the two rocket pieces, pin. Stitch around the outer edge of the rocket making sure to stitch through the legs and flame. Place the rocket tip in place (there will be some felt that hangs over the edge), stitch in place. Trim the extra felt from the tip of the rocket.
  • Stitch the rocket and the flame in place on the cozy, matching up the stitches you made when stitching the rocket together. The legs should not be stitched down.
  • Wrap the cozy around your favorite beverage and take your morning to the moon!

Here are the patterns. Print them out on a full sheet of paper.