.JPG)
When I heard that Annie was moving to New York (just picking up and going!) I was jealous, proud, excited, impressed, and excited. She would now be only three hours away instead of 24. She is living the dream (living on couches and eating Ramen Noodles and peanut-butter) in the City that Never Sleeps.
I wanted to give her something that would be useful but also comforting. Something that she could use in her daily life of job searching and Subway riding. A tote bag seemed the perfect option.
You will have to forgive me. I don't have a picture for every step because I got rushed trying to finish the bag before Annie arrived so I forgot to take pictures. Hopefully the instructions will be clear enough, if not just send me a message and I will help you though the tutorial.
Sanity Tote Bag (Tutorial)
What you will need:
- A bunch of different complimenting cotton fabrics for the stripes. Fat quarters are perfect for this project!
- 1/2 lining fabric (don't get the silky fabric used for lining clothing, you just want a quilting cotton fabric)
- 1/2 quilting cotton fabric for the main body of the bag
- 1 yard medium weight fusible interfacing
- 40 inches of 1/2" bias tape (or make our own with this tutorial)
- The Usual Stuff (sewing machine, hand sewing needle, fabric scissors, straight pins, matching thread, rotary cutter and mat, square ruler, etc...)
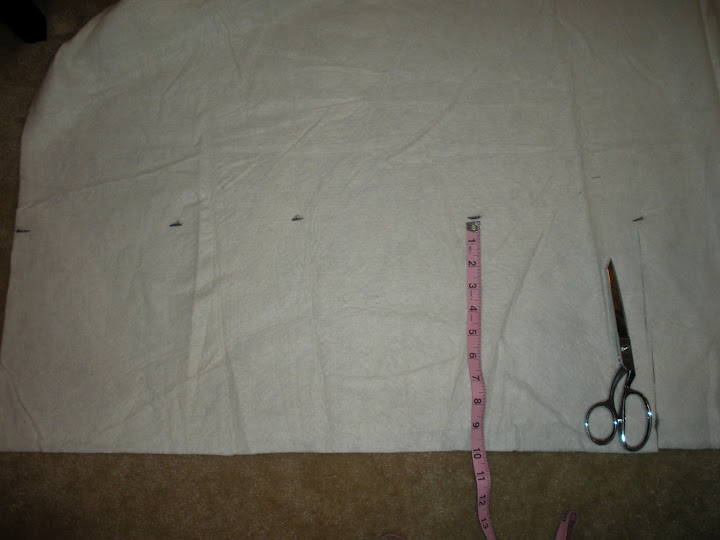
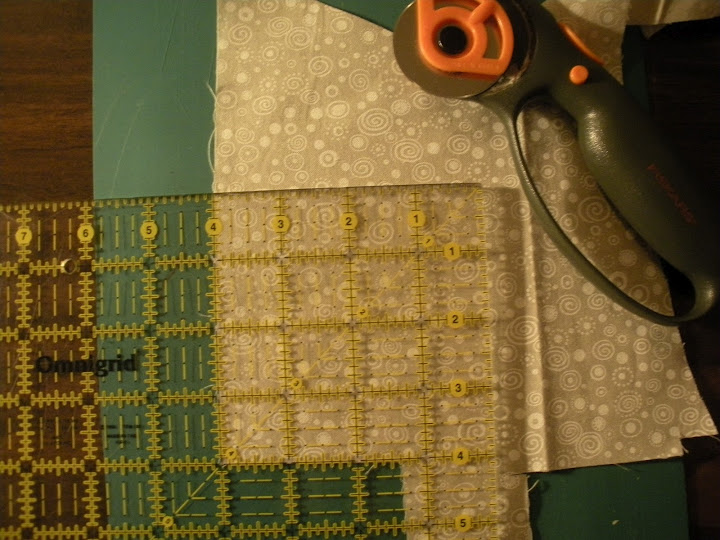
Cut the strips for the stripes. This is the same technique that I used to make my Patchwork Rice Bag. Cut the complimenting cottons into strips of 1 ½”, 2” and 3”. The easiest way to do this is with a rotary cutter. Fold your fat quarters in half, making sure to line up all the edges. Then stack one on top of the other, again making sure to line up all the edges. Check out this tutorial from Purl Bee for more info on cutting with a rotary cutter.


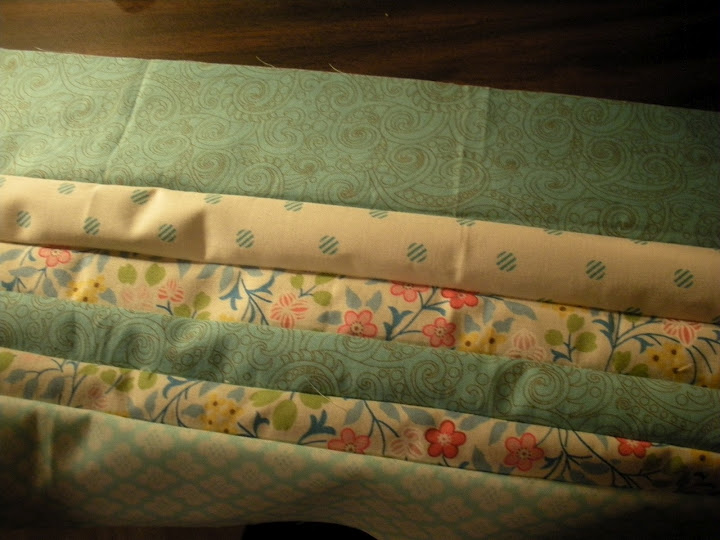
Once you have cut all the strips you will need, around 13-20 total, mix them up in a pile or a small bag. This way you will get a random pattern. Stitch your strips together, using a ¼” seam allowance.


Once you have all of the strips sewn together press all the seams to one side. This is now going to be referred to as the “patchwork fabric.”
Cutting:
Outside pockets (the orange fabric) - 10"x18" cut 2
Stripes - 7"x18" (cut on a 45 degree angle) cut 2
Inside pocket - 12.5"x13"
Inside lining - 18"x15" cut 2
Outside lining - 8"x18" cut 2
Straps - 3"x33" cut 2
Interfacing - 18"x15" cut 2
Stitching It Up!
Use a 1/2" seam allowance unless otherwise noted.
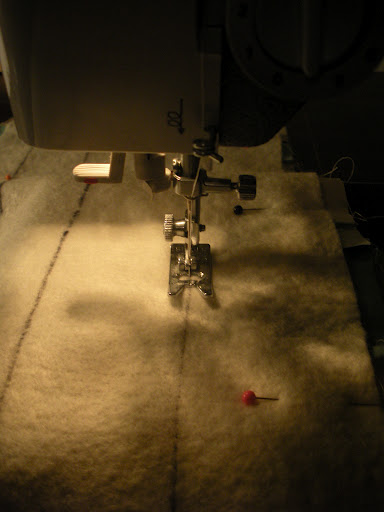
Stitch the stripes to the outside lining along the 18" side. Iron the fusible interfacing onto this piece of the bag, just follow the instructions that came with the interfacing.
Attach the bias tape to the 18" side of the outside pocket. Hand embroider "Sanity" or your name. Check out this video on how to stitch a back stitch. Don't worry if its not perfect embroidery that's the charm of this bag! Using chalk or another fabric marking device, draw a line down the middle of the outside pocket piece. It should be dead center, so 9" from each side. This will be your stitch line a little later.
Lay the outside pocket on top of the outside lining/stripes piece. They should line up at the bottom and the outside pocket should overlap the stripes so you can't see the outside lining. Using a basting stitch, stitch around the three outside edges of the outside pocket. Stitch down the middle on the stitch line you drew. Make sure to back tack with this one.
With right sides together stitch the two outside pieces together around three sides. Trim the corners, turn right sides out, and press.
.JPG) Fold the inside pocket in half so that it measures 12.5" x 6.5". Stitch around the non-folded edges, leaving a area for turning. Trim the corners. Turn the pocket right side out and press, tucking in the raw edges. Using chalk, draw lines for where you will stitch later on the pocket. These pockets will be 4.5" wide (for a cell phone), 5.5" wide (for a small notebook), and two 1" wide sections (for pens and pencils).
Fold the inside pocket in half so that it measures 12.5" x 6.5". Stitch around the non-folded edges, leaving a area for turning. Trim the corners. Turn the pocket right side out and press, tucking in the raw edges. Using chalk, draw lines for where you will stitch later on the pocket. These pockets will be 4.5" wide (for a cell phone), 5.5" wide (for a small notebook), and two 1" wide sections (for pens and pencils). .JPG) Pin this pocket to one the inside lining pieces. It should be about 3.5" from the top of the piece (the 18" part) and 3" from the sides. The folded edge should be the top and the open space you left for turning should be pined closed. Top-stitch around three sides leaving the top open. Now stitch over the lines that you drew for the pockets.
Pin this pocket to one the inside lining pieces. It should be about 3.5" from the top of the piece (the 18" part) and 3" from the sides. The folded edge should be the top and the open space you left for turning should be pined closed. Top-stitch around three sides leaving the top open. Now stitch over the lines that you drew for the pockets.
With right sides together stitch the two lining pieces together around three sides. Trim the corners, leave it inside out and press.
Fold the 3"x33" fabric for the straps in half long ways. Stitch up the long sides of the strips creating three tubes. Trim the seams to 1/4". Pin a safety pin to one end of one of the tubes, only pin through one layer of fabric. Feed the safety pin back through the tube to turn it right-side out. Just keep scrunching up the fabric around the pin until the pin comes out the other end of the tube, then keep pulling the pin through until all the tube is right-side out. (These pictures are from my Beach and Imagination Tent tutorial)


Press the tube. Fold the tube in half long ways and press again. Pin if you want to, I didn't because my fabric was staying folded pretty well. Stitch right on the edge of the fabric to keep the edges together, hopefully the photo will illustrate what I mean. Do the same thing for the other strap.

Pin the straps to the outside fabric piece. The straps should be 4.5" from each side. The straps' raw edges should be in line with the raw edge of the top of the bag. Baste these in place.
With right sides together, put the lining fabric inside the outside fabric. The straps should be on the inside of this sandwich too. Stitch around the top of the bag leaving a 3" hole for turning. Turn the whole thing right-sides out and press (making sure to press the raw edges you left for turning inside so they are no longer hanging out). Top stitch around the top making sure to back stitch and the beginning and end.

That's it! Hope you get creative and make one of these bags for yourself or for a friend. It would make a great Christmas gift!