This blog is no longer hosted on this site. Check out the new and improved Domestic360 at domestic360life.com for even more DIYs, recipes, and fashion tips!
Showing posts with label project. Show all posts

Thursday, December 20, 2012

Thomas the Tank Engine Play Mat - DIY Sewing Tutorial

My nephew is obsessed with Thomas the Tank Engine. He is almost two years old and he can't get enough of that blue "Choo choo!" He has shirts, and movies, and toys. For Christmas I really wanted to make him something that he would love. I took the idea of those travel Match Box Car road play mats and tweaked it to make a train mat.


Its a pretty simple idea. Just two pieces of fabric sewn together with a map on one side. I painted the train tracks and did simple felt appliques for the lake, houses and mountain. The great thing about felt is that you can just cut it and stitch/glue it in place. There are no raw edges so there is a lot less work. If you don't want to sew felt, just paint on whatever landmarks you want on your map.


That's the cool thing about this project, you can make the map look like whatever you want it to look like. If you want lakes and rivers, just put them on there! If you want a whole village, just cut out some village shapes (squares and triangles for houses are so simple) and glue them on the map. You could even have train tracks going from your home to "Grandma's," just paint labels under the houses. Its so easy to make this a totally custom play mat!


What You Will Need:

  • mat background fabric (I used green to look like grass) cut a 21" x 21" square
  • mat border fabric (I used blue clouds) cut four strips of 2" x 21"
  • mat back fabric (I used Thomas the Tank Engine fabric) cut a 23.5" x 23.5" square
  • snap fabric (I used the same as the border fabric) cut a 3.5" x 4" rectangle
  • small bits of felt 
  • fabric paint
  • embroidery floss
  • one button (optional)
  • one square of Velcro (both male and female sides) or a snap set
  • the usual stuff (sewing machine, matching fabric, scissors, ruler etc...)
Note: Use a 1/4" seam allowance unless otherwise noted.


Plan out what you want your map to look like. I did a very simple sketch so I knew what I was working towards. Once you have a plan you can get started with the map details. Cut out shapes such as squares and triangles for houses, an organic triangle for a mountain, and a blob shape for a lake. Either glue or stitch these landmark details in place. Add whatever shading or detailing you want. Now, paint on the train tracks. The tracks should be 1.5" wide. I used a small piece of paper that was 1.5" wide so I could make sure the width was even. Neither the landmarks nor the tracks need to be perfect. Let your paint and glue dry completely (overnight is best) before moving on.
 
Sew on the borders. First sew on the top and bottom borders, line the edge of the border fabric up with the edge of the map fabric, right sides together. Press the borders open (see the first picture). Then sew on the two side borders using the same method, these will be longer than the top and bottom borders because they will over lap the top and bottom borders. Press these open.


Fold the snap tab fabric in half length wise, right sides together. Stitch up the raw edges and one end, leaving one end open. Trim the seams to about 1/8". Turn the tab right side out, poke out the corners with a dull pencil or corner turning tool and press.


Stitch the male side of the Velcro square in place at the finished end of the tab. (If you are using a snap this is where you would attach the female side of the snap in stead of the Velcro.)

Stitch a button on the opposite side of the tab from the Velcro. This button is just for show and won't be functional, so don't worry about it being very tight.


Layer the back fabric and the map right sides together. From the bottom left side (where I have my lake) of the map, measure 6" in and lay your Velcro tab with the button facing up (like in the picture). Pin this in place in between the two layers of fabric. Stitch around the whole map through the map border fabric and the back fabric making sure to back stitch. Leave a hole about 4" for turning.


Trim the corners Turn the whole thing right sides out, pushing out the corners with a dull pencil or a corner turner. Turn the raw edges you left for turning inside, press. Press around the whole map. Top stitch, as close to the edge of the fabric as possible, around the whole map (making sure to catch the raw edges that were left for turning). Stitch the other Velcro square to the back of the mat 6" from the top left corner.


That's it! It such a cute gift for a little boy who loves trains.

Sunday, December 9, 2012

Paintbrush Roll-Up (tutorial) - DIY Easy Sewing Project


My sister, Annie, is way cooler than me. She is four years younger and ever since she was able to be awesome she was as awesome as awesome is. I mean she had three Halloween costumes this year: Frida Kahlo, Max from Where the Wild Things Are, and Davis Bowie. I mean if thats not awesome, I don't know what is!
 

Annie is an amazing artist. She is an art major and one of her favorite mediums is painting. I have been meaning to make her some art supplies totes and cases. I want to make her a pencil case, a bag, a sketch book cover, a colored pencil roll-up, and so many other things! At the rate I'm going she will be graduated and on to living her awesome life before I get any of it made.

For Christmas I made her this awesome Paintbrush Roll-Up. Its really easy, a perfect beginning sewing project. It doesn't take a lot of fabric and can be put together in an afternoon.


Confession: Every once in a while (read: more often than I would like to admit), when I make up my own patterns, I have moments of sheer stupidity. With this project it was that I totally forgot to cut two pieces for the main body of the roll-up. It was a moment of "OMG! Corey, what were you thinking?" Thankfully, this was not a big oops, easy to fix, just cut one more piece of fabric. The only fabric I had that matched the other fabrics was a scrap from another project, so I stitched up the scrap and went with it. The only problem I had with this scrappy fabric was that it had a slight stretch. I would not suggest using anything with stretch.

Paintbrush Roll-Up
What You Will Need:

  • two pieces of fabric cut to 22" x 19"
  • one piece of fabric cut to 22" x 2.5"
  • two pieces of fabric cut to 18" x 2.5"


Fold each 18" x 2.5" (the long skinny pieces) in half right sides together. Stitch up the long sides using a 1/4" seam allowance. Hook a safety pin in one end of one of the tubes, feed the safety pin back through the tube until it comes out the other end. Keep pulling the tube thought itself so that its all right-side-out.


Fold one end of the tubes inside and stitch it up. 


Pin the 22" x 2.5" piece along the right 22" side of the main piece, right sides together. It should be 1" from the edge. Stitch along the right side edge of the 22" x 2.5" piece. Fold and press the 22" x 2.5" over so that the right side of the fabric is on the right side.


Layer the two large pieces of fabric on top of each other with right sides together. Pin the tie strips, with the unfinished ends stitching sticking out and the strips on the inside of the sandwich. Make sure you leave a hole for turning, I make this with thee pins as I did in the picture. Using a 1/2" seal allowance stitch around the outside edge of the sandwich, leaving that hole for turning. Trim the corners. 


Pull the sandwich through itself so its right sides out. Press. Fold the raw edge that was left for turning to the inside and pin. Fold up the bottom (the 18") edge 5", pin in place. This is what will create the pocket for the paintbrushes. Top stitch around the edge of the whole roll-up, using the edge of the presser foot lined up with the edge of the fabric as a seam allowance.


Using chalk or a washable fabric marker marker the stitch lines for the pockets. These lines should run the full length of the roll-up. The lines can be the same width or various. I made the pockets varied from 3/4" to 2" wide. Stitch along these lines from top to bottom. Make sure you don't catch the ties in the process. Brush off the chalk or use a damp cloth to gently rub it off. 


Add paintbrushes (or pens, pencils and markers) and fold over the top edge (should be about 4").  Roll up the case and tie  it off. There you have it! Good to go to art class!


I just LOVE the way this turned out! I can't wait to give it to my sister. She will have many more paintbrushes than I do to fill it with. I am sure she will love this as much as I do. Yay for easy sewing projects that turn out so wonderfully!

Here are some more photos to show how great this project is.


P.S. This is perfect for pencils, colored pencils, markers, a highlighter collection, pens, crochet hooks, short knitting needles, etc...


Saturday, December 8, 2012

Holiday Crafts - Deck Your Arms!

For some reason our Mac (aka, my everyday computer) won't let me upload my photos so I can post them on here. We have a laptop, but my husband has taken it to work and forgot to bring it home for the weekend. Hence the reason I haven't posted any of my own DIY projects. So until my husband brings home the laptop I am going to share two projects from my friend Camille's blog: life in mod

Camille, the beautiful mother/model friend of mine from high school, has a great blog all about being a stylish mama and how not to fall into the "mom jean" trap. I love reading her styling tips, and daily life tid bits, but her DIY projects are so fun! They are creative and totally doable durring nap-time.  

Here are two of her holiday projects:


I really want to make both of these projects! Leave a comment and let me know how yours turns out!

XOXO,
Coco


Thursday, November 1, 2012

The Savannah Bag

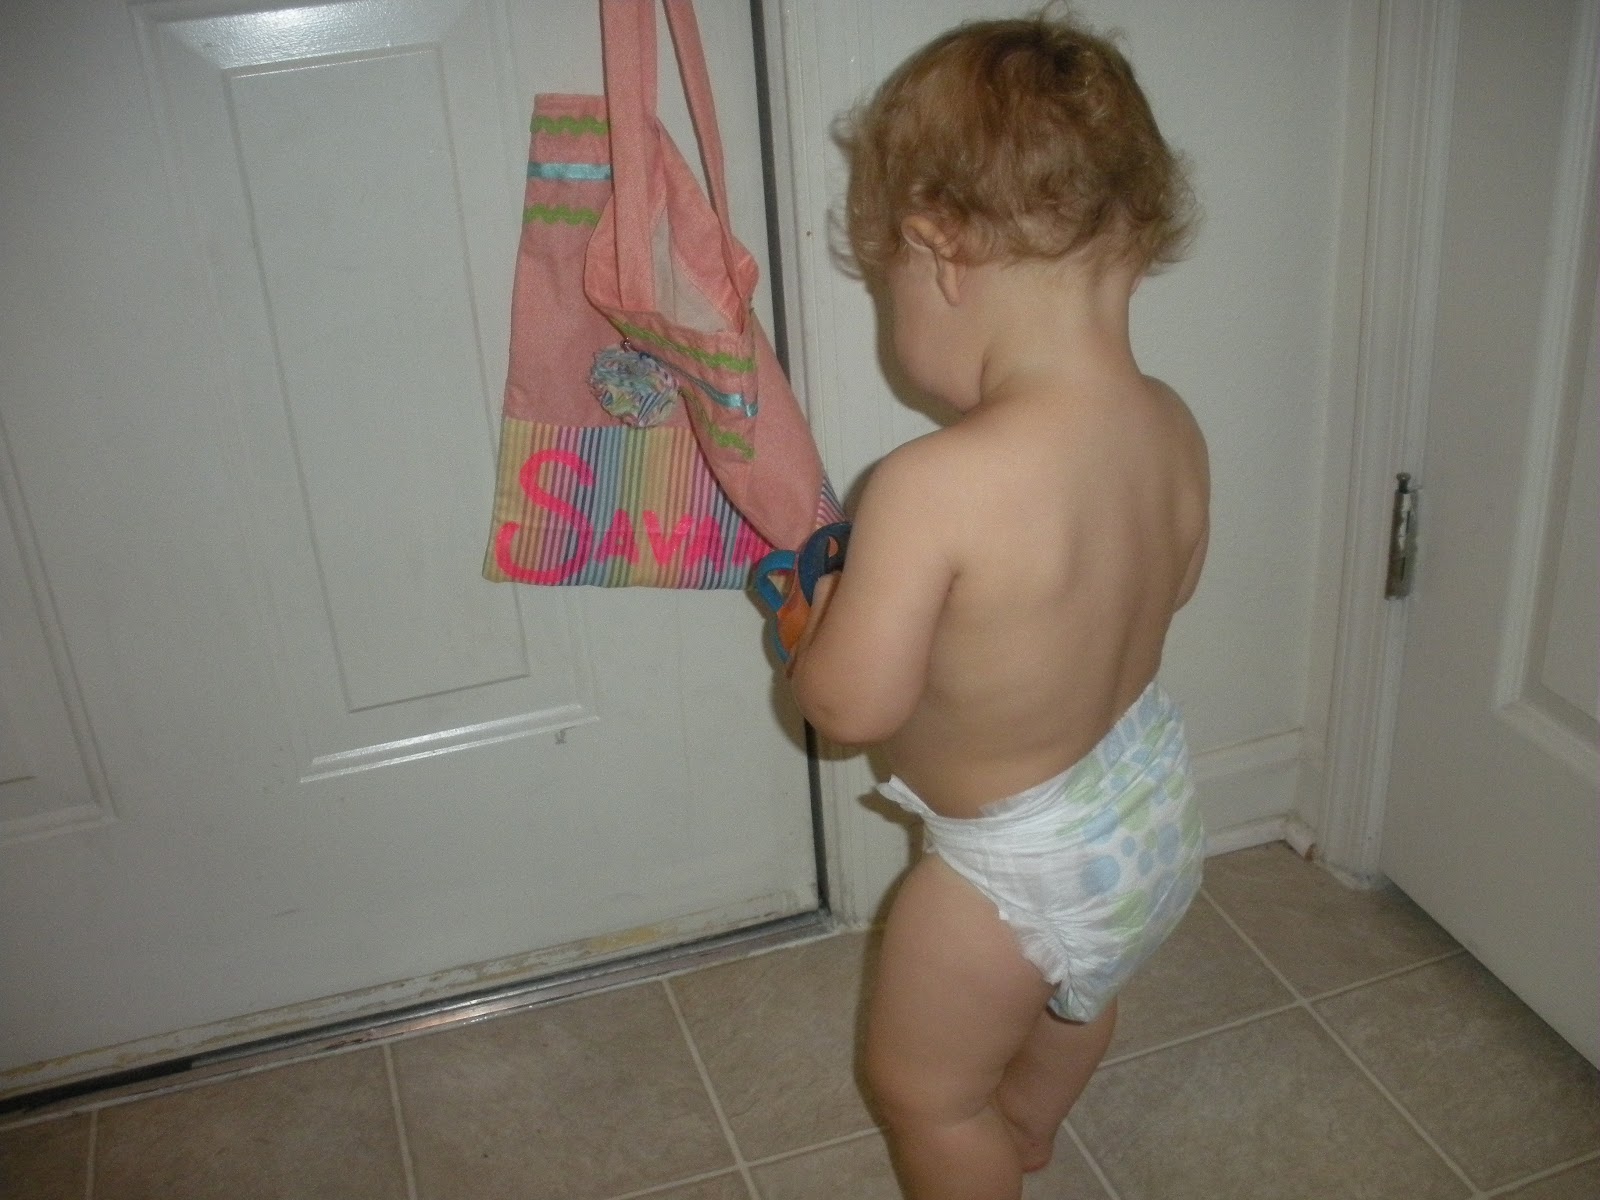
My wonderful niece, Savannah, just started preschool and her mom asked me to make her a bag to put her folders and papers into. I had such a good time picking out the fun fabrics and ribbons. 


The only problem I had while making this bag is that my niece has such a long name that it was had to make it fit. The original plan was to write her name with fabric applique letters diagonally across the bag... Yeah, there was no way that was going to happen. So, I ended up adding a strip of fabric around the bottom of the bag and just painting the letters on. I like the way it turned out.


I used the tutorial  for The Twenty Minute Tote from Molly's Sketchbook over at the Purl Bee. (P.S. I love the Purl Bee Blog, check them out for some great inspiration!) I modified the pattern a little, added some ribbons to the top of the bag, added the fabric stripe to the bottom, and made the straps out of fabric instead of using webbing. Its a super easy and quick pattern, and the tutorial is really clear and simple to follow.


I also made a little pompom flower that can be pinned to the bag or be a hair clip! Just cut out a bunch of little circles of fabric. Fold them into quarters, stick a threaded needle through the corner of each folder circle and bunch them all up at the end of the thread. Loop the needle through the whole bunch a few times to secure and then knot. Add a small circle of felt to the back of  the pompom, stitch a safety pin to the felt and hot glue on a small hair clip. That's it! Easy!
(Jude didn't like having a flower in his hair)