This blog is no longer hosted on this site. Check out the new and improved Domestic360 at domestic360life.com for even more DIYs, recipes, and fashion tips!
Showing posts with label inspiration. Show all posts

Wednesday, January 30, 2013

Beach House Tresury

For as long as I can remember, my parents have been talking about buying a beach house. They have been searching for that perfect location and finally now that they have they are wasting no time in purchasing the vacation home of their dreams. 

The great thing about my parents having a beach house, is that we all get to use it whenever we want! Also, that its a brand new clean slate when it comes to decorating. I am so excited to finally get to use all those cute nautical themes (no ugly rental house decorations!) and to create an awesome retreat for my family.

Here is some inspiration from Etsy. 

What do you think? 
How would you decorate your dream beach house?


'Beach House' by CoreySue


Married to the Sea . large g...
$45.00

iPhone 5 Case, iPhone 5 Cove...
$15.00

Beaufort Nautical Guestbook ...
$75.00

Starfish Beach Decor Large P...
$19.00

Bulk Driftwood--100 Pieces o...
$20.00

Gidget Mint Octopus Infinity...
$79.99

6 Sand Dollar Charms Antique...
$2.50

Beach Decor Cast Iron Mermai...
$48.00

Scalloped Wedding Invitation...
$1.50

Twirly Turquoise Blue Chevro...
$15.00

Save the Mermaids
$4.50

Make a Match - Beach Edition...
$21.00

Venice Beach Bag
$75.00

You are my anchor Print, Nau...
$13.50

Kids Wooden Toy Sailboat 1
$11.95

Tuesday, October 30, 2012

Robot 1st Birthday Party (DIY installment)

About two weeks ago i spent a ton of time putting together this post. It was beautiful. Apparently  I wasn't signed in while I was creating the post so it didn't save and when my son unplugged the computer I lost everything I had done. I got so fed up with the whole thing that I just resigned myself to not posting my links and recipes. Needless to say, I changed my mind. So, here are all the secrets behind my son's first birthday party, now you can host your own fool-proof Robot Birthday Party!

Invitations
I just made a stencil (check out my tutorial here) and stenciled on blank greeting cards I had from the craft store. I also used this stencil to make Jude a t-shirt.

Decorations
 I used the font "Fraulein" from dafont.com to make all the signs and labels. I printed out the words on card stock and cut them out and then glued them onto colorful scrap book paper. For the big signs, I then strung the letters together with ribbon. Easy and CUTE!
I cut gear shapes out of foam core and spray painted them sliver. These got hung up around the house and on the front door. 

For cupcake toppers, I used some really cute robot stamp on some card stock and glued them onto toothpicks. 


 Call straws "Wires" and utensils "Tools," put them in cleaned out tin cans to add to the theme!


The Robot Photo Shop
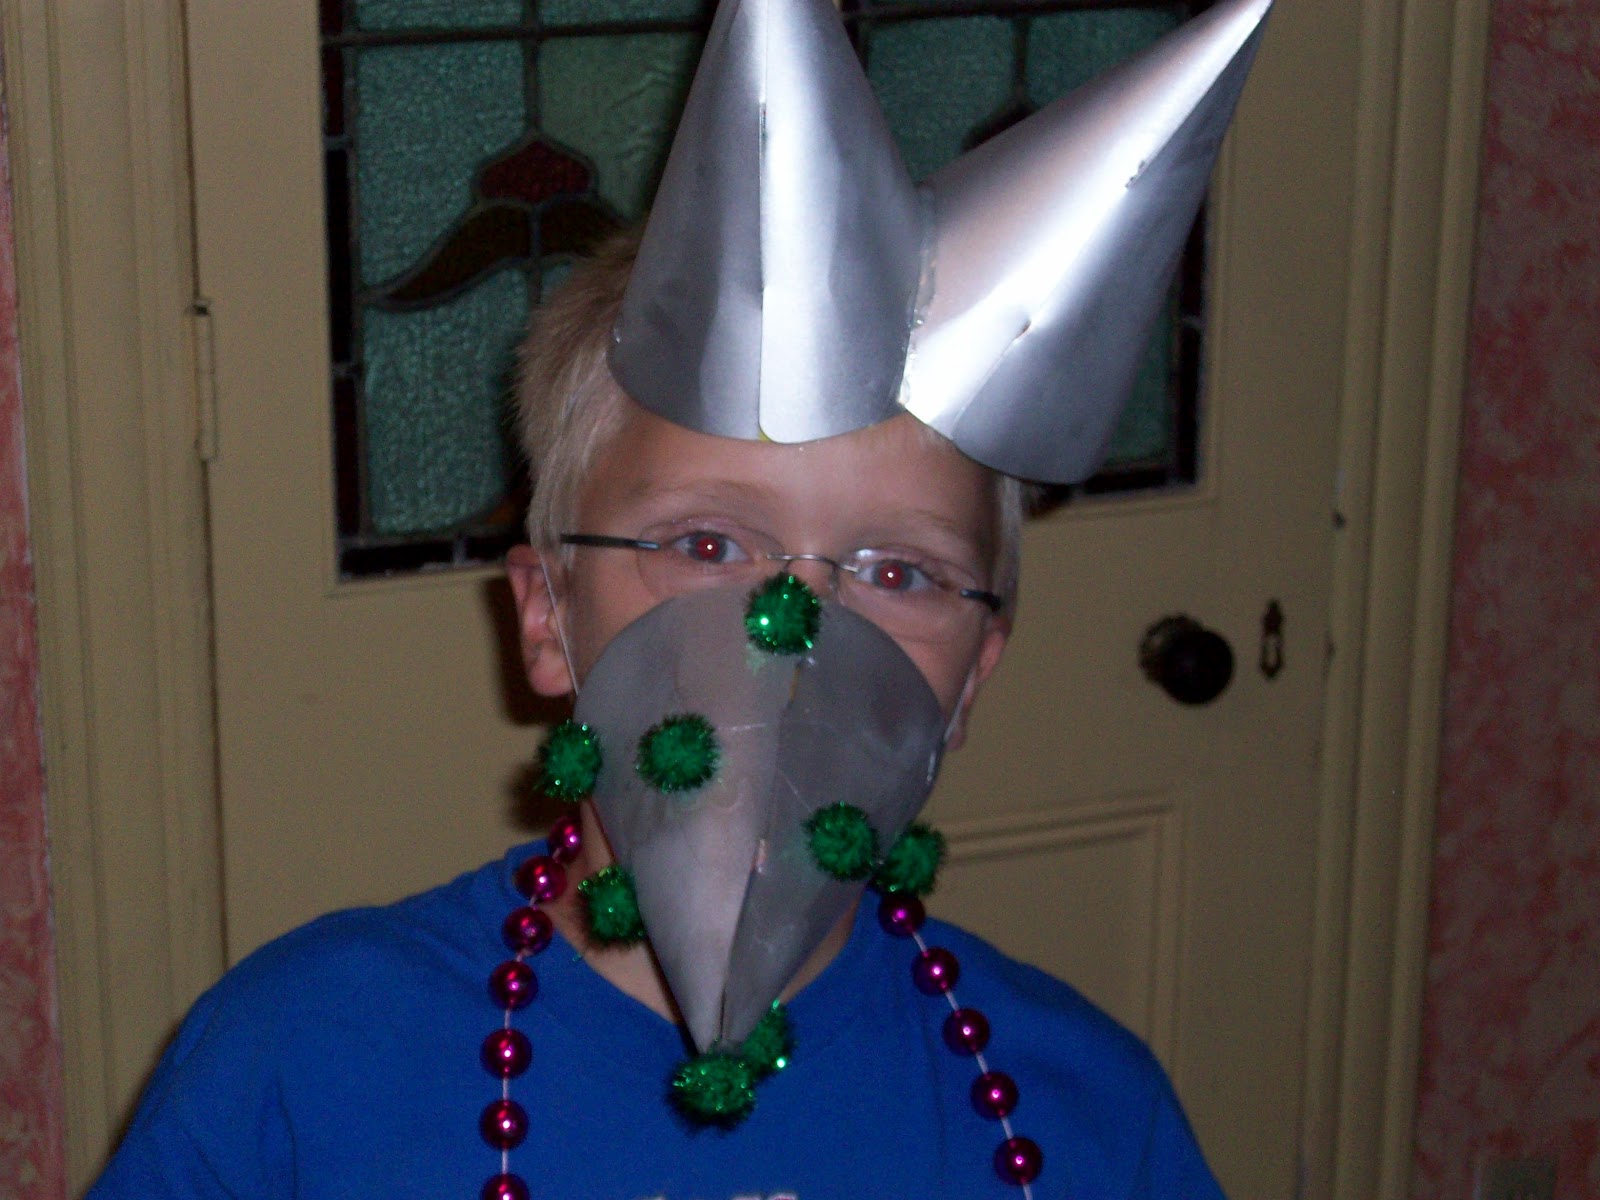
We set up a photo booth. Guest were encouraged to pull out their cameras and phones and take some silly shots! I sewed a small casing in a yard of fabric and slid a dowel through it, then I tied some ribbon around the dowel and hung it up as a backdrop. Then I put some fun props (a chalkboard, a frame, some Mardi Gras beads, a tangle of Christmas lights, a robot mask with chalkboard mouth, and some funky party hats) on a small table with a sign that said "Go ahead, grab a prop and take some pics!" 

Here are some of the results.


The Fueling Station
AKA - The food!

Atomic Chili - Regular Chili
Assorted Parts - Chili Fixin's (sour cream, cheese, hot sauce, cheese, onions, jalapenos, Fritos)
Back Up Cables - Carrots and Celery Sticks (and other veggies)
Machine Oil - Pumpkin Pie Dip (recipe link below)
Nuts and Bolts - Chex Mix
Fuse Boxes - Grapes
Battery Cells - Bacon Wrapped Dates (recipe link below)
Sprokets - Bell Pepper Strips
Computer Chips - Regular Tortilla Chips
Mechanical Munchies - Salsa and Bean Dip (recipe below)
Loose Screws - Greek Pasta Salad (recipe below)
Antifreeze - Blue Cream Soda
Frozen Robots - Robot Ice Cubes (tutorial/recipe below)
Memory Cells - Cupcakes (recipe links below)


Here are some other ideas for food:
Robot Fuel - Drinks
Motor Oil - Drinks
Cables or Wires - Licorice Whips
Shockwaves - Cupcakes
Robot Parts - Decorate Your Own Cupcakes or Make Your Own Sundaes
Robot Screws - Cheese Curls


Recipes
Pumpkin Pie Dip - Kitchen Simplicity (I added some powdered sugar and served with ginger snaps, but its super yummy with granny smith apples)
Bacon Wrapped Dates - YumSugar

Cupcakes
Gluten Free, Blueberry Cupcakes with Blueberry Cream Cheese Icing - Lemon Drop (These are so good. You would never be able to tell that they are gluten free!)
Red Velvet Cupcakes with Cream Cheese Icing - Brown Eyed Baker
Vanilla Bean Cupcakes with Vanilla Bean Icing - My Baking Addiction
# 1 Sprinkle Smash Cake Topper - kojo designs

Coco Butter Cream Recipe
Adapted from my mom's 1980's Betty Crocker Cookbook - this is my Go To chocolate icing recipe
(used to top half of the Vanilla Bean Cupcakes)

1/3 cup butter, softened
1/3 cup cocoa powder
2 cups powdered sugar
1 1/5 teaspoon vanilla extract
About 2 tablespoons milk

Cream the butter and the cocoa until smooth. Add powdered sugar and beat until smooth. Add vanilla and milk, beat until smooth. Add more milk until icing is spreading consistency.


Bean Dip Recipe
This recipe came from my dear Red Headed College Roommate

1 can re-fried beans, 32 oz. can (the big one)
1 tub sour cream , 12 oz. tub
1 packet ranch dressing mix (more or less depending on your taste)

Mix everything together in a large bowl. Chill for at least an hour. Serve with tortilla chips, Frito Scoops, or veggies.

Greek Pasta Salad Recipe

1 12 oz. box of curly bite-sized pasta (fuslli, girandole, cellentani, gemelli, etc...)
1 green bell pepper, roughly chopped (you want bigger pieces, so don't fine chop the pepper)
1 red bell pepper, roughly chopped (same note)
1 pint grape tomatoes, cut in half
1 medium cucumber, cut into bite-sized chunks
3/4 cup of Kalamata olives, cut into quarters
1, 16 oz can of chick peas, draned and rinced
1 1/2 cup feta cheese crumbles
About 1 cup (more or less according to your taste) oil and vinegar based Greek salad dressing (I used Newman's Own brand)

Cook the pasta to al dente according to the directions on the box. Mix everything together in a large bowl. Chill for at least an hour.

NOTES:
-Remember if you are making Loose Screws, you need curly pasta! Plus the curls provide a place for the dressing to rest and make the salad more flavorful
-This recipe would also be really good with salami chunks, pickled artichoke hearts, baby spinach leaves, red onion (My husband and I hate the taste of onion, so I almost never include it in my recipes), chunks of chicken
- I have made this recipe using just olive oil and balsamic or red wine vinegar as a dressing. Add some salt and pepper, garlic powder, and maybe some fresh oregano and you are good to go!


Robot Ice Cubes
Water
Food coloring

Mix food coloring and water, pour into Chillbots tray and freeze until solid. Run upside-down under hot water before carefully popping Chillbots out of tray. Be very careful when popping these little guys out of the tray, I snapped off many a little claw hand.


Friday, June 1, 2012

Hey Jude! IKEA Hack Lamp (with tutorial)


My theory with names like Charlie Brown (my parent's neighbor), Josh Hartnett (a friend from college), Harry Potter (read an article about a baby with this name), is that you have to either HATE it or EMBRACE it. My sister, Annie, is always getting renditions of "The sun will come out tomorrow!" crooned to her. So, when we named our son Jude, we knew he would be sung to pretty much his whole life. At least he gets a great song by a great band. My hope is that he will embrace his "theme song" and not hate the Beatles just because.

In the spirit of embracing the name Jude, I decided that he needed a little Hey Jude in his room. One of  my favorite lines from that song is "Take a sad song and make it better..." How much more inspiring can you get? You have the power to change your world. Take a sad song and make it better. Alter your life and make it something you love and that is worth living to the fullest.  If my son takes anything away from Hey Jude, I hope it is this sentiment. 

With that in mind, I took my favorite Hey Jude line and hacked an IKEA lamp shade. I had been playing around with the idea of hacking this lamp shade for a while. I love the vines and flowers, but it looked a little plain for my style and especially for a little boys nursery. I thought about stenciling the lyrics to the whole song. I considered tapping out some words and painting the whole lamp shade, removing the tapped on letters and have a negative space sort of thing going on. I finally settled on stitching the lyrics to the "Take a sad song and make it better" line. I love how it turned out! Kind of a homemade-chic look, not too perfect, with lots of love.


Hey Jude! IKEA Hack Lamp Shade Tutorial
What you will need:
  • IKEA lamp shade (pretty much any lamp shade will work)
  • Embroidery floss
  • Embroidery needle
  • Embroidery wax
  • Thumb tack/push pin
  • Scrap paper
  • Tape
  • Fabric snips and regular paper scissors
How to:

Cut scraps of paper about 3" tall and long enough to wrap around the base of the shade. (You can type up the letters on your computer and print them of you prefer, just play with the size of the font til you get something you are happy with.)


Tape the paper pieces together so they make one long banner. Wrap the banner around the base of your shade and tape in place. You will need to fold and snip the paper so that it fits nicely.


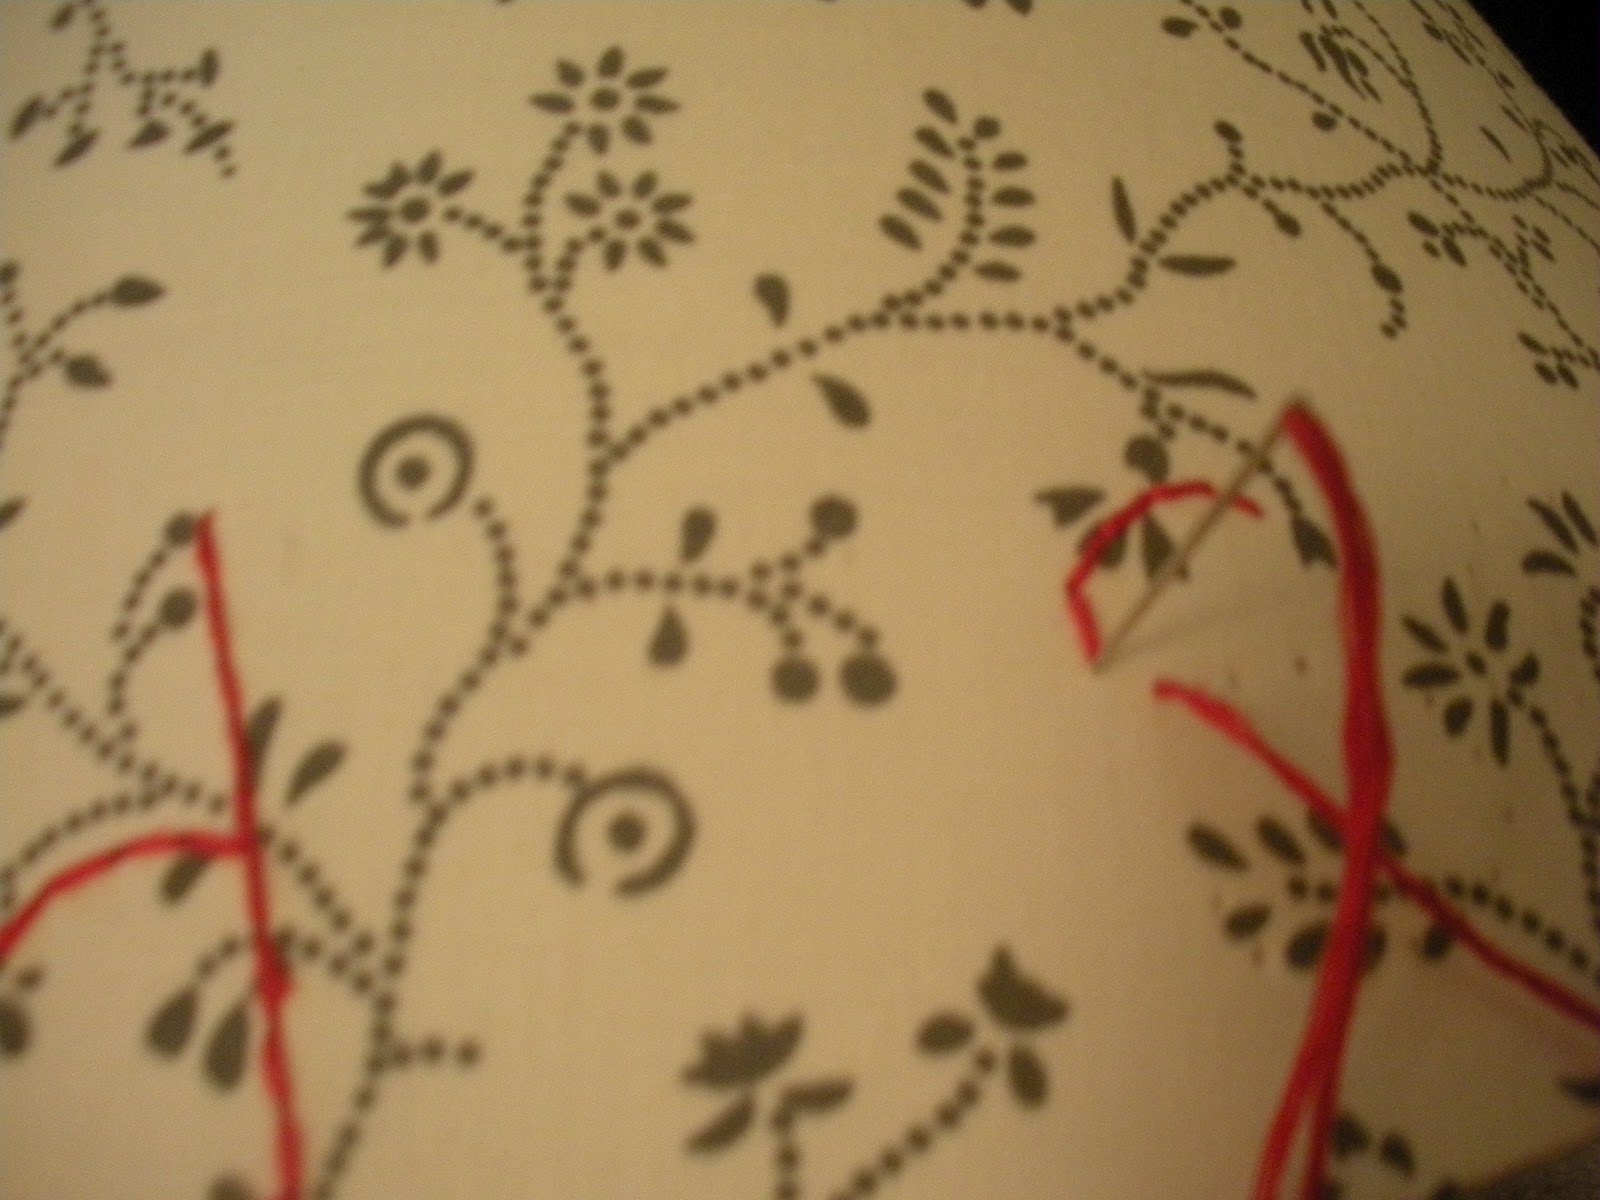
Using your push pin to make the pilot holes in the shade. Puncture the shade along the lines of the letters about 1/8" apart.  This took me a while and it was really hard on my fingers, but I made a fresh pot of coffee and watched a movie.


Using the back stitch method, (see this video for instructions), stitch your letters using your pilot holes as a guide. Sometimes the thread gets stuck on the plastic of the shade, if this happens run your thread along the wax to grease it up.  To make the dot on i's, a period or an ellipsis (...), use a french knot (see this video for instructions).


Thats it! Hang your new awesome shade on a lamp stand, add a light bulb (or lamp as we say in the theatre world) and enjoy the inspiration! Take a sad song and make it better!

This is a really simple project, it really doesn't take very long and makes a big statement. Try it out and let me know how it goes. I would LOVE to see what you come up with!


Sunday, January 29, 2012

Inspiration

Here is a sneak peak at what I'm working on for Valentines Day...


Comment and tell me what you think I'm making!