This blog is no longer hosted on this site. Check out the new and improved Domestic360 at domestic360life.com for even more DIYs, recipes, and fashion tips!

Thursday, June 6, 2013

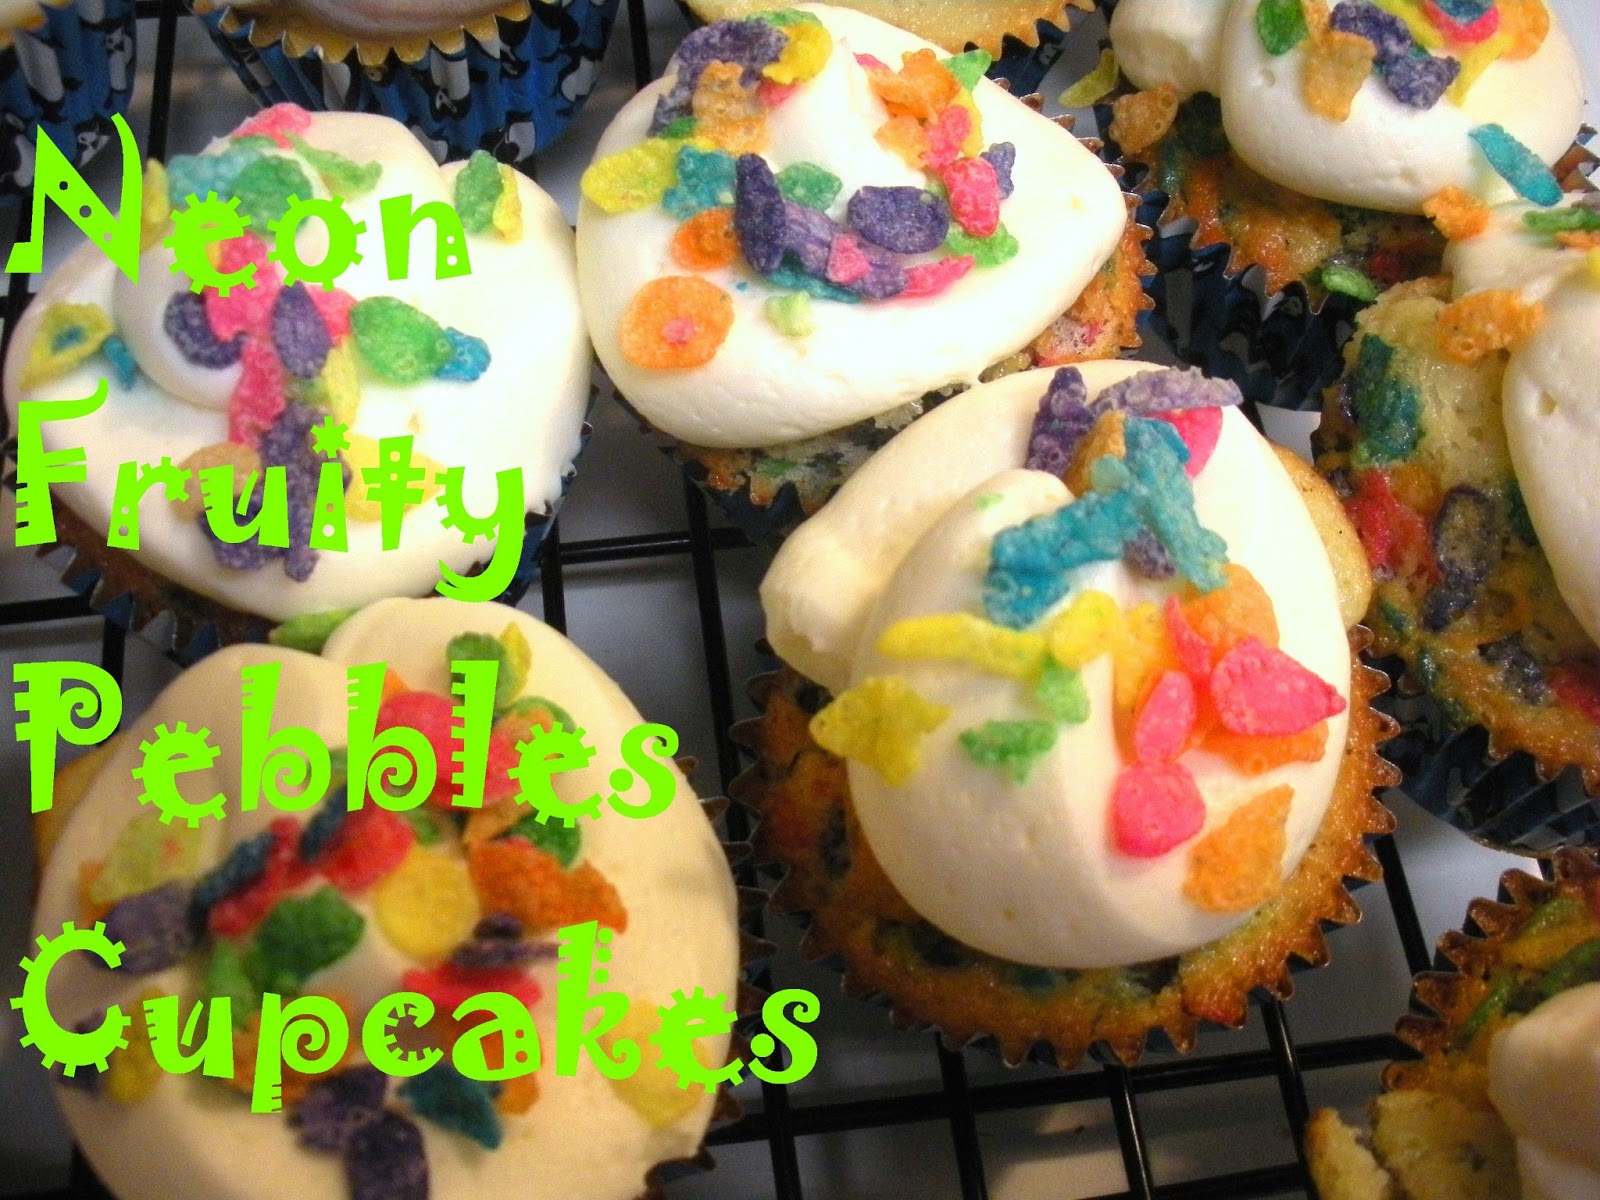
Neon Fruity Pebbles Cupcakes - Easy Recipe

Q: What do you do when its your friend's birthday and you are preggo and therefore can't go out for drinks or do pretty much anything fun?

A: Make NEON FRUITY PEBBLES CUPCAKES!


A few days ago a dear friend of mine, Scott, celebrated his big 25! Since I am *still* pregnant and I couldn't do cocktails or go anywhere because I'm a waddling penguin at this point, I made him cupcakes using his favorite cereal. 

When we were in college Scott would eat a box of Fruity Pebbles a week. We used to keep a box for him at our house so that he didn't have to keep schlepping cereal back and forth from his apartment. Now that he is out of college and a real life actor, he pretty much never eats Fruity Pebbles. Got to look good for all those auditions! So, I made a diet decision for him. Birthdays are for indulgence, and Fruity Pebbles Cupcakes are just that.


These cupcakes are really simple to put together. You can use your own recipe for a white cake (this one is really good), or use a box. Make your own vanilla buttercream (click here for a recipe) or get a jar. It really doesn't matter. Totally up to you and the amount of effort you are willing to put into your cupcakes.


I will say that I used a yellow cake recipe from The America's Test Kitchen Family Baking Book, and I was not a huge fan of how it turned out. It was pretty dense and not quite what I wanted. But, I have made these before with a box cake mix and they turned out perfectly.


You can also make up the cake batter and separate it into two bowls. Add 1 cup Fruity Pebbles to one of the bowls and leave the other bowl to just be regular white cake.  That way you have more tasting options!


Neon Fruity Pebbles Cupcakes
  • White or yellow cake batter, prepared (homemade or box)
  • 2 cups Fruity Pebbles cereal
  • Vanilla buttercream frosting (homemade or tub)
  • More Fruity Pebbles cereal for decorating
Once the batter is prepared according to the recipe, fold in 2 cups Fruity Pebbles cereal. Follow the recipe and instructions for filling the cupcake liners and for baking. Let cupcakes cool completely before frosting. 

Frost with vanilla buttercream and top with Fruity Pebbles. 

Frosting Tip: Put the frosting into a large zipper bag, cut the tip off of one corner and use as a piping bag to squeeze frosting onto cupcakes.

Sunday, June 2, 2013

Super Awesome Preggo Iced Tea Recipe

I'm at the very end of my pregnancy with my second baby. I am due any day now, and I am doing anything thing I can think of to get this baby out. I've tried all the old wives tales I can find, pineapple, hot wings and spicy foods, eggplant parm, acupressure, walking, jumping, sky diving (jk), etc...

One thing recommended by almost every source I consulted is Red raspberry leaf tea. Red raspberry leaf tea is supposed to be really good for pregnancy and women's health in general. It is said to strengthen the uterus and promote overall health for the female reproductive system. It doesn't bring on labor, but supposedly makes labor and delivery easier. One of the great things about this tea is that it doesn't cause contractions, so its safe to drink throughout pregnancy. It is even said to prevent miscarriages.

There are a lot of different sources that you can read about the benefits of drinking this tea, here are a few that I read: 

"It is naturally high in magnesium, potassium, iron and b-vitamins which make it helpful for nausea, leg cramps and improving sleep during pregnancy. The specific combination of nutrients in Raspberry Leaf makes it extremely beneficial for the female reproductive system. It strengthens the uterus and pelvic muscles which some midwives say leads to shorter and easier labors.Wellness Mama

"...strengthens the longitudinal muscles of the uterus, which increases the power of contractions and facilitates childbirth. Other pregnancy related uses for red raspberry leaf tea include preventing miscarriage, regulating labor contractions and relaxing the uterus during childbirth..." livestrong.com

"Since ancient times, Raspberry Leaf has been traditionally used by midwives and Western herbalists during pregnancy as well as to help ease the discomfort of menstruation, and to strengthen and tone the uterus."  Yogi Tea

If you want to do more research, just Google "red raspberry tea benefits," or ask your doctor. 

This tea has a great taste, kind of earthy and sweet flavor. I usually like to add some honey and enjoy a hot cup in the morning and one in the evening (your supposed to drink 3 cups a day, according to the box). The only problem is that its 90 degrees out. Yeah, the hot tea thing isn't happening in this weather. So, I decided to try making a pitcher of iced tea.

Who doesn't love an iced cold glass of tea on a hot summer's day?

Sometimes tea that is really good hot, is a disaster when put on ice. This is not the case with raspberry leaf tea. Its SUPER AWESOME! No kidding. I could drink this all day (and I have been). Its a great way to stay hydrated because, I am (sadly) more likely to drink iced tea than water.

Plus, my husband won't touch it since I told him that it was to support the uterus and pregnancy. He has taken to calling it my "gross uterus tea," he has no idea what he is missing out on. Usually a pitcher of tea wouldn't last a day in our house but since I'm the only one drinking it, it last a little longer.


Super Awesome Preggo Iced Tea

  • 2-3 bags of raspberry leaf tea (yogiproducts.com)
  • 2-3 bags of pregnancy tea (traditionalmedicinals.com)
  • water
  • optional: sweetener of your choice (sugar, honey, agave, stevia, etc... don't use fake sugars, aka Splenda, Sweet'N Low, etc... these are not good for you or your baby)
  • optional: mint leaves

If you are using a sweetener, put the desired amount (I used about a cup of sugar for a standard pitcher, about 60 oz.) in a glass liquid measuring cup. Pour in about a cup or two of boiling water and stir until the sweetener has completely dissolved.

Take the tea bags out of their envelopes and tie the strings together. Remove the little tags from the end of the strings. Put the tea bags into the measuring cup with the hot water and sweetener. Cover and let steep for about 5 minutes.

Remove the tea bags from the water. Pour the water into a pitcher and fill the rest of the pitcher with cold filtered water.

Serve with ice and mint leaves.


DISCLAIMER: I am not a doctor, nor do I have any medical training. The statements made here have not been approved by the Food and Drug Administration. These statements are not intended to diagnose, treat or cure or prevent any disease. This notice is required by the Federal Food, Drug and Cosmetic Act.
Friday, May 31, 2013

Little Boys Bow Tie - Tutorial Review

I'm kind of obsessed with bow ties, especially on baby boys and toddlers. I made one for my son to wear to a family wedding last summer. I also made a few for a show I designed and I made one for a friend. 

This tutorial makes a bow tie that will be the right size for pretty much any age (I've made one for a 6 month old and one for a 16 year old) and if you want a hair bow, just skip making the neckband and add a barrette.

I have used this tutorial from A Lemon Squeezy Home every time I have made a bow tie  (also modified it to make an over-sized hair bow). The tutorial is really well done. Its really easy to follow and there are pictures for almost every step. 

The only thing I did differently, was use snaps instead of Velcro on the neckband. I made the neckband a little longer than my son's neck measurement so that I could add some extra snaps and make the strap adjustable. I have also made this bow tie with and without the batting/felt, I don't think it makes a huge difference if you don't have it for the added fluffy-ness. Although, the batting inside makes for a great drool catcher, no need for a bib!


Its always hard to find cute projects to make for little boys, but this one is perfect! It goes together pretty quickly (if you don't have a little person distracting you), and has turned out perfectly every time I have made one. I absolutely recommend  using this tutorial to anyone looking to sew up something for a sweet little boy. 

Friday, May 24, 2013

Camera Strap

Tessa, from Tessacotton, is a pretty awesome chick! We went to college together down in Mississippi, and I loved her then and love her now! She is one of those ridiculously talented and creative people. 

A little while ago Tessa asked me to make her a strap for her new DSLR camera. Aside from being kind of jealous, (I would love a DSLR!) I was really flattered that she asked me to make something for her. 
Finished Camera Straps

When we started talking about fabrics, she said she wanted "Something along the lines of too many colors to clash with anything..." HAHA! How awesome is that? So we looked for something that wouldn't clash with whatever she was wearing to her shoots. We finally found this great Spoonflower print. Check out my post about the fabric.

I wanted to make a real camera strap. Not just a cover for her existing strap. There are a lot of tutorials for covers, but I only found one tutorial for an actual camera strap. I would like to be very clear here, this is not my tutorial. Someone has done the hard work and I just used their tutorial. I believe that if someone has already invented the wheel, why try to reinvent? *I did not charge Tessa for this strap, so I am not stealing this woman's hard work for profit*

I did a lot of looking for a good tutorial and found a great one on ikat bag, How to Make A Camera Strap. It really is a good tutorial. She had provided a simple pattern and info on where to find the materials. I particularly like this tutorial because it produces a very stable strap, nothing flimsy here. It also has adjustable sliding bars, so you can make your strap exactly the length you want.

The only thing missing from this tutorial is a little pocket for a camera lens cap. I wanted to add a little pocket or something to keep the lens cap in so that it would be easy to store away and get to when needed. Tessa is often shooting outdoors, and I didn't want her lens cap to be lost in the grass. So, I made up a pattern. I will include that tutorial/pattern in a future post.

I also added a few inches to the original tutorial. I made one at the length that is suggested in the tutorial (roughly, 20"), and I made one that was the same length (roughly, 27") as the strap that came with Tessa's camera. After I shipped the strap to Tessa, she said the length was perfect. I think since the strap is adjustable anyway, it wouldn't be a big deal at either length.


I made two because I had plenty of materials.
I am planning on doing a GIVE-A-WAY!