I freakin’ love rice bags! They are wonderful for all aches and pains. Just pop them in the microwave or freezer and you have a mold-able hot or cold pack that can’t leak harmful chemicals on to your skin or poison your dog. They really are the bomb-dot-diggity. I was totally addicted to mine in college and my only regret for not having a microwave now is that I can’t warm up my rice bag.
I love rive bags so much, that when a friend was complaining of a bad back, I offered to make her one. They don’t take very long to make and can be super cute! I took the time to make this one patch-worked and put an initial patch on it for a little personal touch. But if you don’t want to spend that much time on it, just skip the patch working steps and cut a piece of cotton 29”x10”. You can also skip the batting if you use a strong enough fabric, like canvas, denim (using an old pair of jeans would be so cute!), or something.
One quick note about fabric choosing. You want to use a cotton or another natural fabric or a fleece. You DO NOT want to use something that will melt or be compromised by heat. Also, its a good idea to choose something that won’t stain easily, especially if you are going to be using your bag with kids. Quilting cotton is a really good option.

Supplies:
- Thin cotton batting, about ½ a yard
- 4 different and complimenting cotton fabrics, fat quarters are perfect
- machine thread that works with all 4 of the different fabrics
- giant bag of cheap rice (about 9ish cups), see note at end of post you can also use deer/feed corn (check out a feed store like Southern States), or pretty much any grain. I even had a friend who made one with cherry pits, we had to eat a lot of cherries to get enough pits.Rice is just good because its cheap and easy to find in the grocery store.
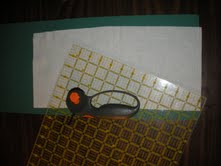
- Pins, scissors, sewing machine, iron, tailors chalk, tape measure (you know, the regular sewing stuff)
- Dried lavender, chamomile, or other nice smelling herb (about 9 tablespoons), optional.
- Optional Initial Patch
- 4”x4” square of cotton fabric
- Embroidery floss
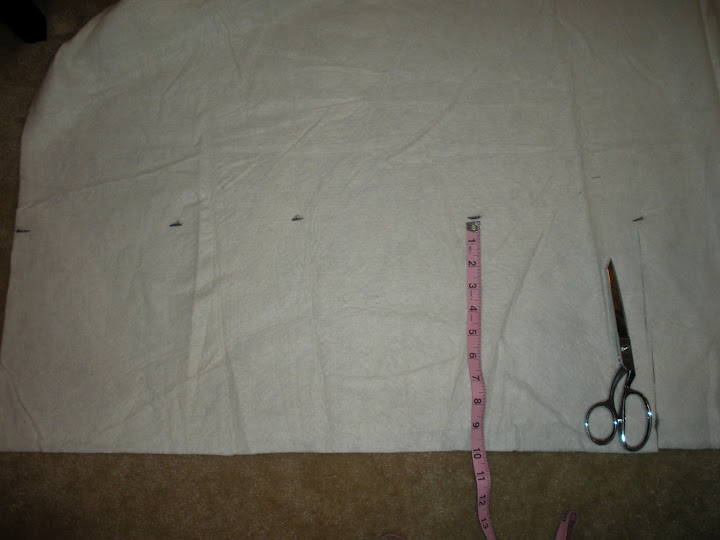
Cut the cotton batting into a 29”x10” rectangle.


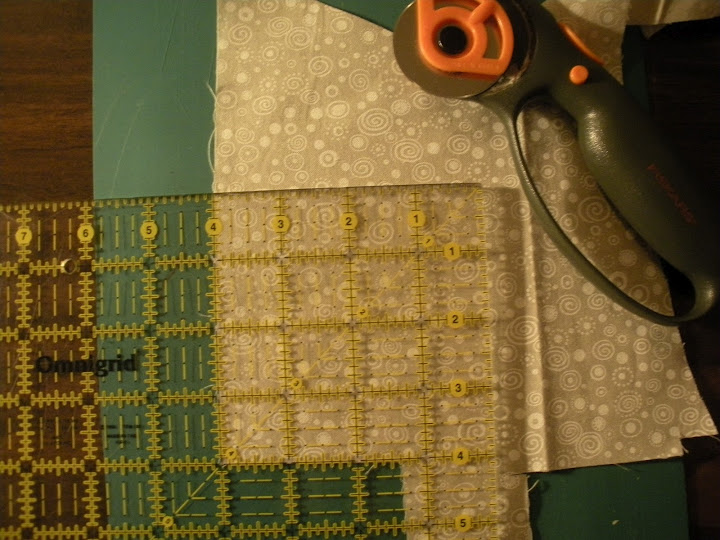
Cut the complimenting cottons into strips of 1 ½”, 2” and 3”. The easiest way to do this is with a rotary cutter. Fold your fat quarters in half, making sure to line up all the edges. Then stack one on top of the other, again making sure to line up all the edges. Check out this tutorial from Purl Bee for more info on cutting with a rotary cutter.

Once you have cut all the strips you will need, around 13-20 total, mix them up in a pile or a small bag. This way you will get a random pattern. Stitch your strips together, using a ¼” seam allowance.

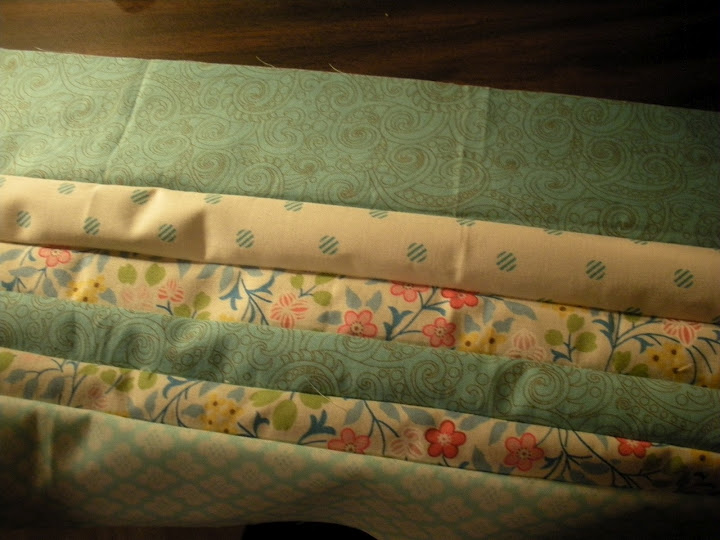

Once you have all of the strips sewn together press all the seams to one side. This is now going to be referred to as the “patchwork fabric.”

Cut the patchwork fabric in half. You should cut across all of the stripes and not just one.


Stitch both pieces of patchwork fabric together, so that you have a very long strip. Press the seam the same way as all the other seams.

Pin the batting to the wrong side of the patchwork.

Measure 2 ½” sections on the batting and mark lines with chalk or a Rub-A-Dub marker.
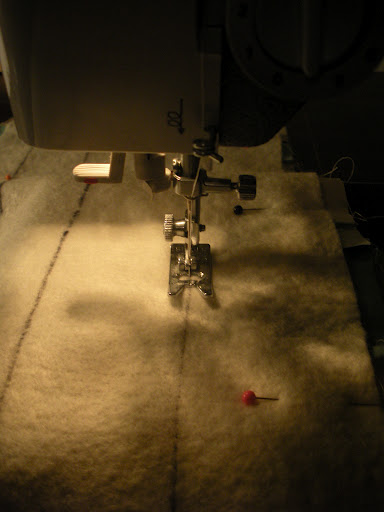
Stitch along these lines.
OPTIONAL INITIAL PATCH

After cutting a 4”x4” square of fabric, mark ½” all the way around the square. Mark your letter with chalk or some other wash away fabric marking tool. Then stitch the letter using a chain stitch (see this video).


On the wrong side of the patch, press down ½” all the way around.

Pin the patch to one layer of the patchwork fabric and stitch all the way around about ⅛” from the edge of the patch. Make sure to back-stitch at the beginning and end of your stitching.

*Note* This doesn’t have to be an initial, it could be a cute design like a flower.

Trim around the edge of the cotton batting, cutting off the extra patchwork fabric. Fold the fabric/batting piece in half. Pin all the way around leaving a hole, about 5” on the short end, for turning.


Stitch all the way around, except for the turning hole.

Trim corners and seams to about ¼”, except at the turning hole.

Turn the bag through the turning hole. Pop out the corners with turning tool, or pencil. Press.


Fill the bag with about 9 cups of plain, cheap rice. This 9 cup number is really just an estimate. That's about how much I used, but you could use more or less depending on how full you want your bag. Keep in mind, the more rice you have the longer it will take to heat in the microwave. 9 cups is really a good amount.
If you are using herbs, the is the time to put them in too. The ratio is about one tablespoon of herbs for every cup of rice.

I made a funnel with a piece of paper and masking tape to make filling easier. I highly recommend doing this, otherwise you will likely have rice everywhere.

Now turn the seams to the inside of your bag and hand stitch it closed.
And you are done!

*NOTE* about using rice
- Don’t feel like you have to use rice. There are many options for fillings. You can also use deer/feed corn (check out a feed store like Southern States), flax seed, or pretty much any grain. Rice is just good because its cheap and easy to find in the grocery store.
- I even had a friend who made one with cherry pits, we had to eat a lot of cherries to get enough pits.